
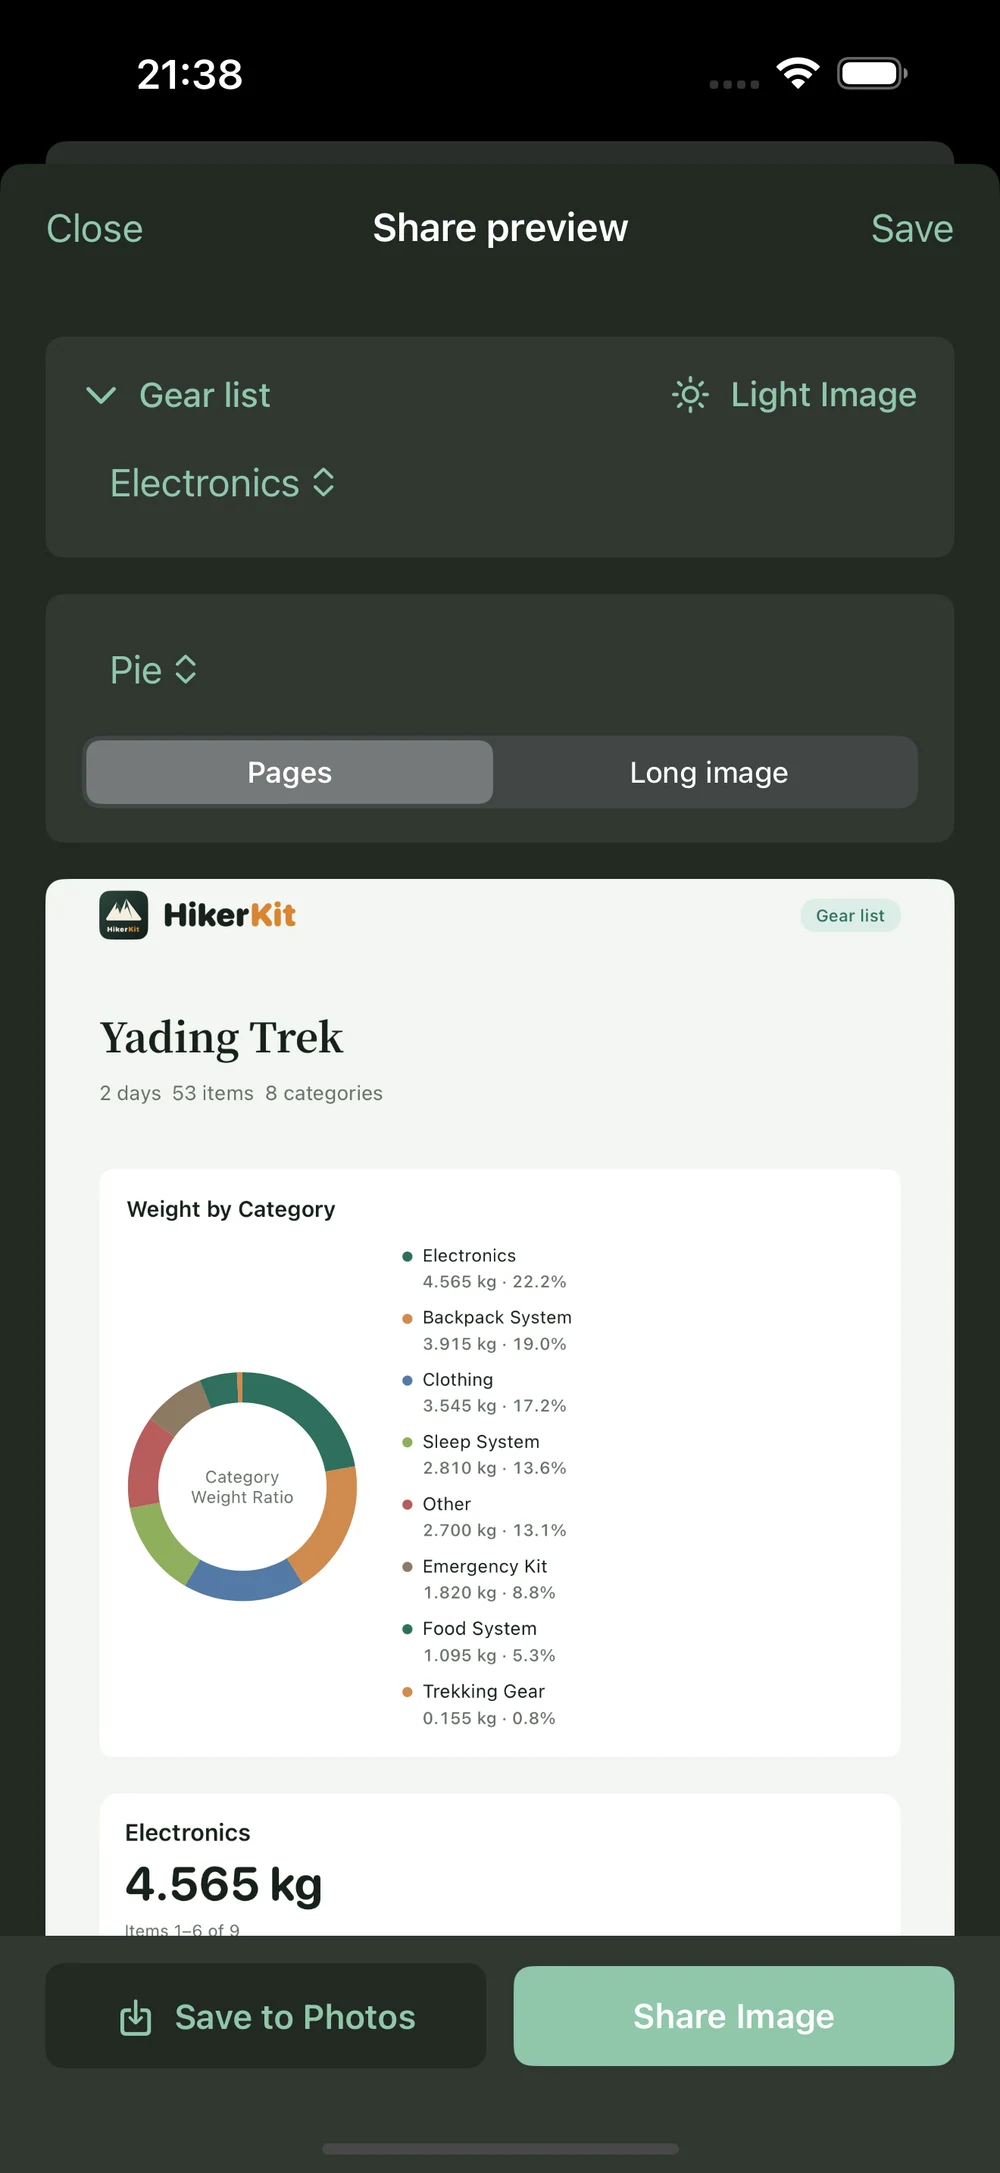
Some readers want to understand weight distribution; others need to check every item. HikerKit 2.0’s sharing preview lets you choose a pack profile or gear list, then select charts, pages or a long image, and independent image colors. This tutorial starts at the completed trip’s memory screen, then covers settings, previewing, retaining the configuration, exporting, and checking the actual output.
Gear charts and basic image sharing are established features. Version 2.0 refines complete categorized lists, chart choices, pagination, long images, and independently saved settings. Start by deciding what the reader needs to see.
This walkthrough uses the English interface and the Yading Trek demonstration. Counts and weights describe the illustrated configuration.
Prepare the configuration for sharing
Open Trips, select the outing, and check its name, dates, gear selection, carried quantities, and worn items. An unfinished trip needs to be reviewed against the current checklist. A completed trip uses the gear snapshot saved at completion.
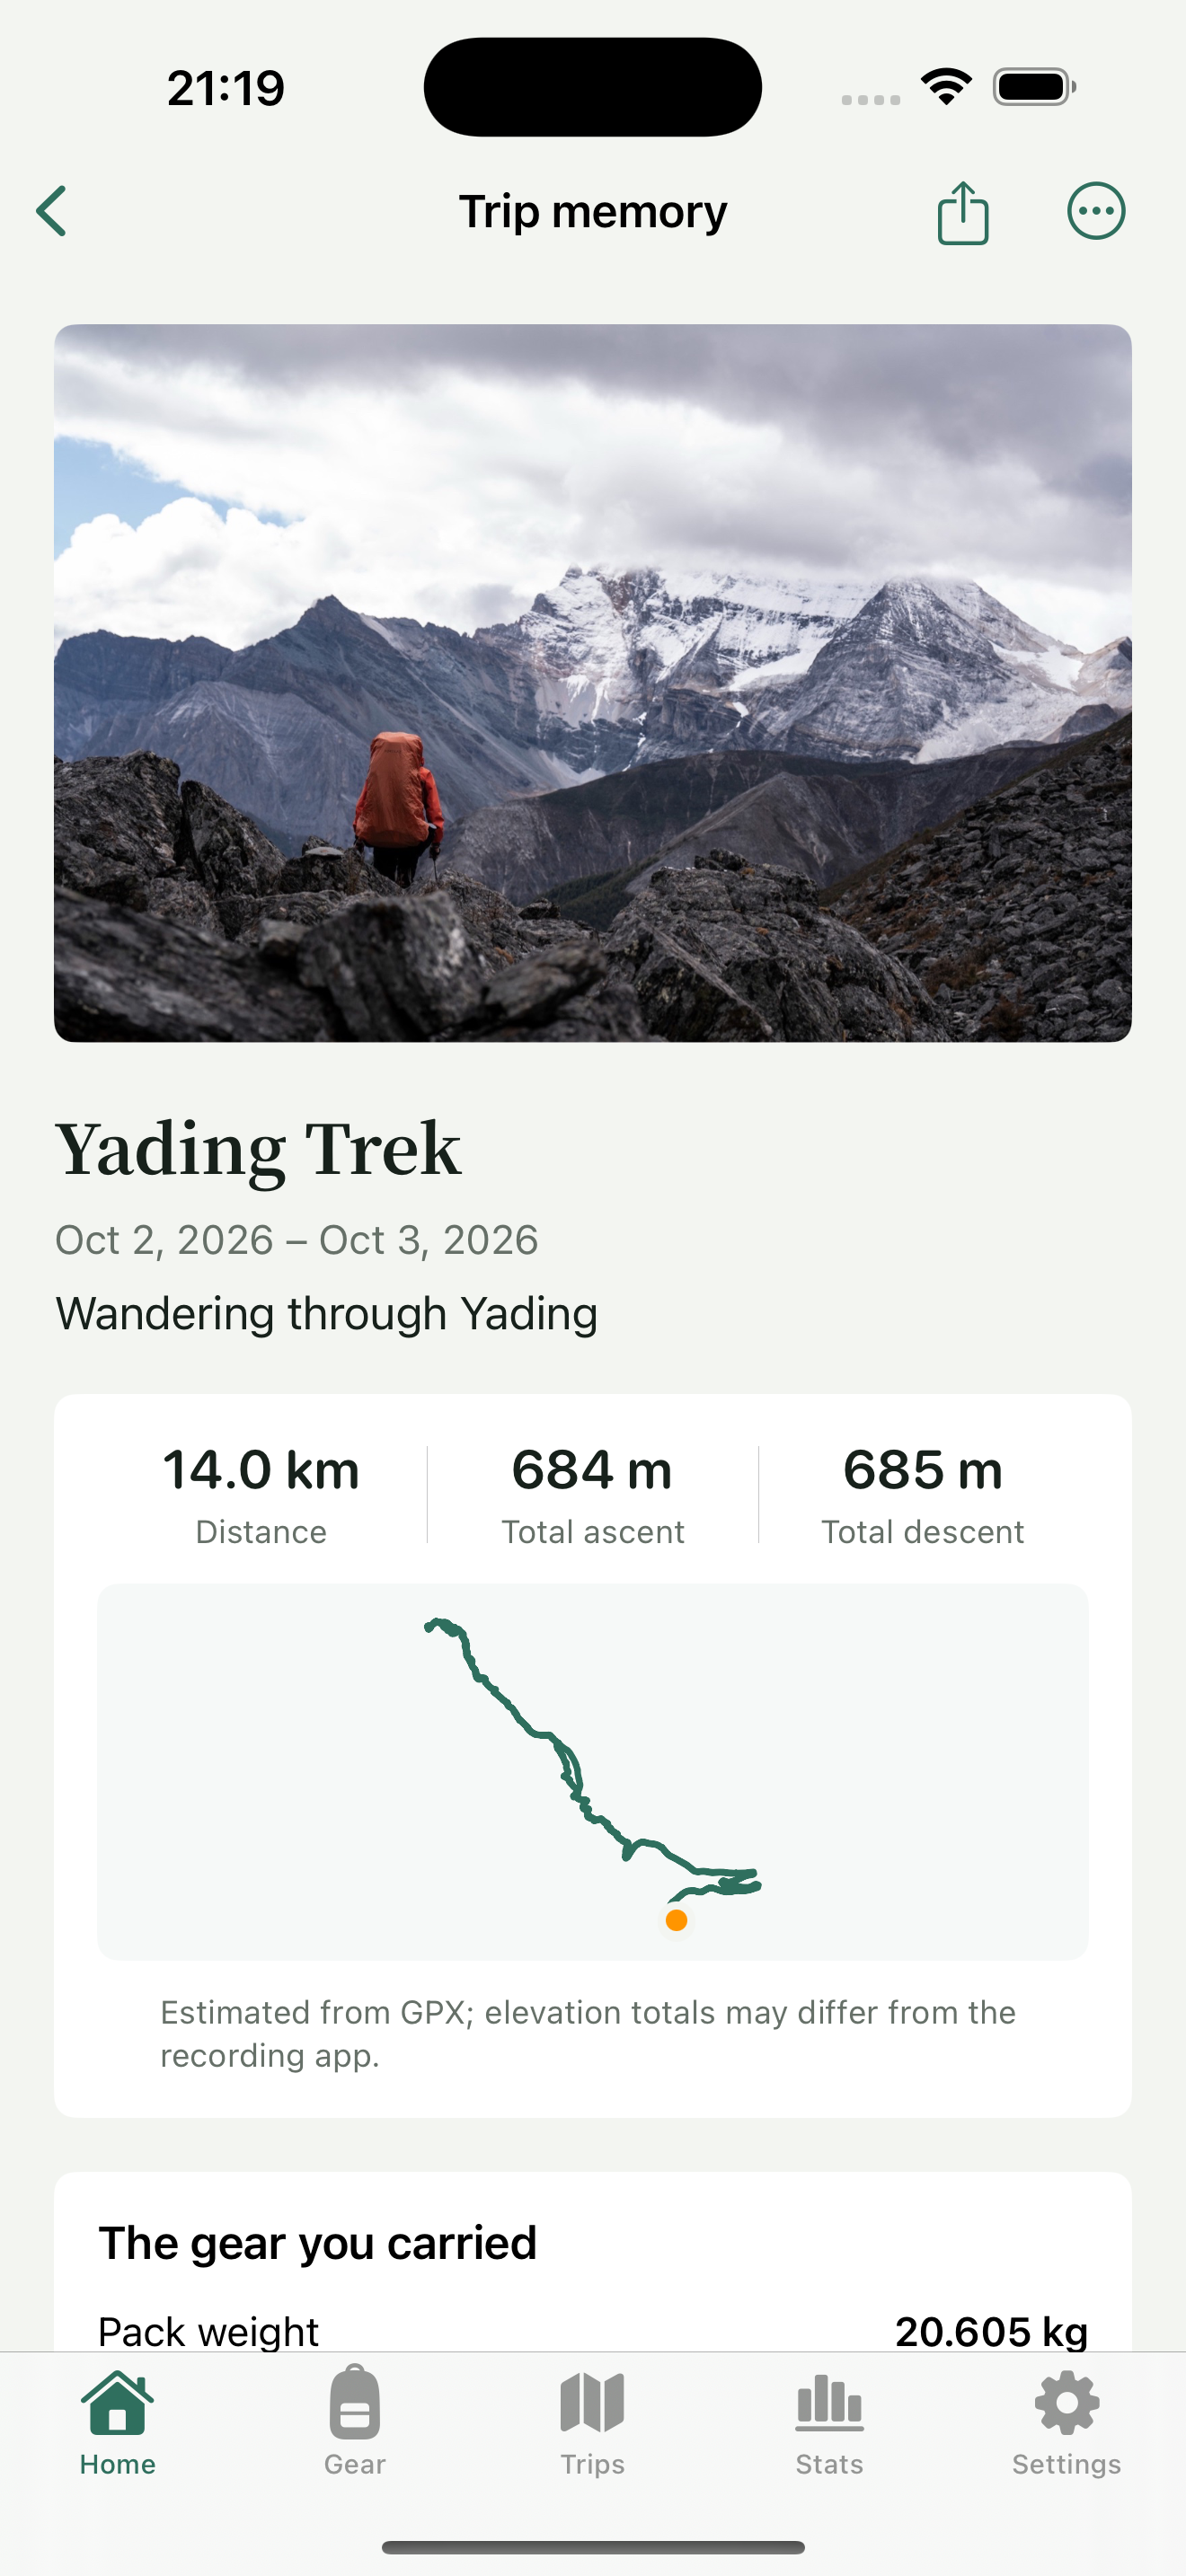
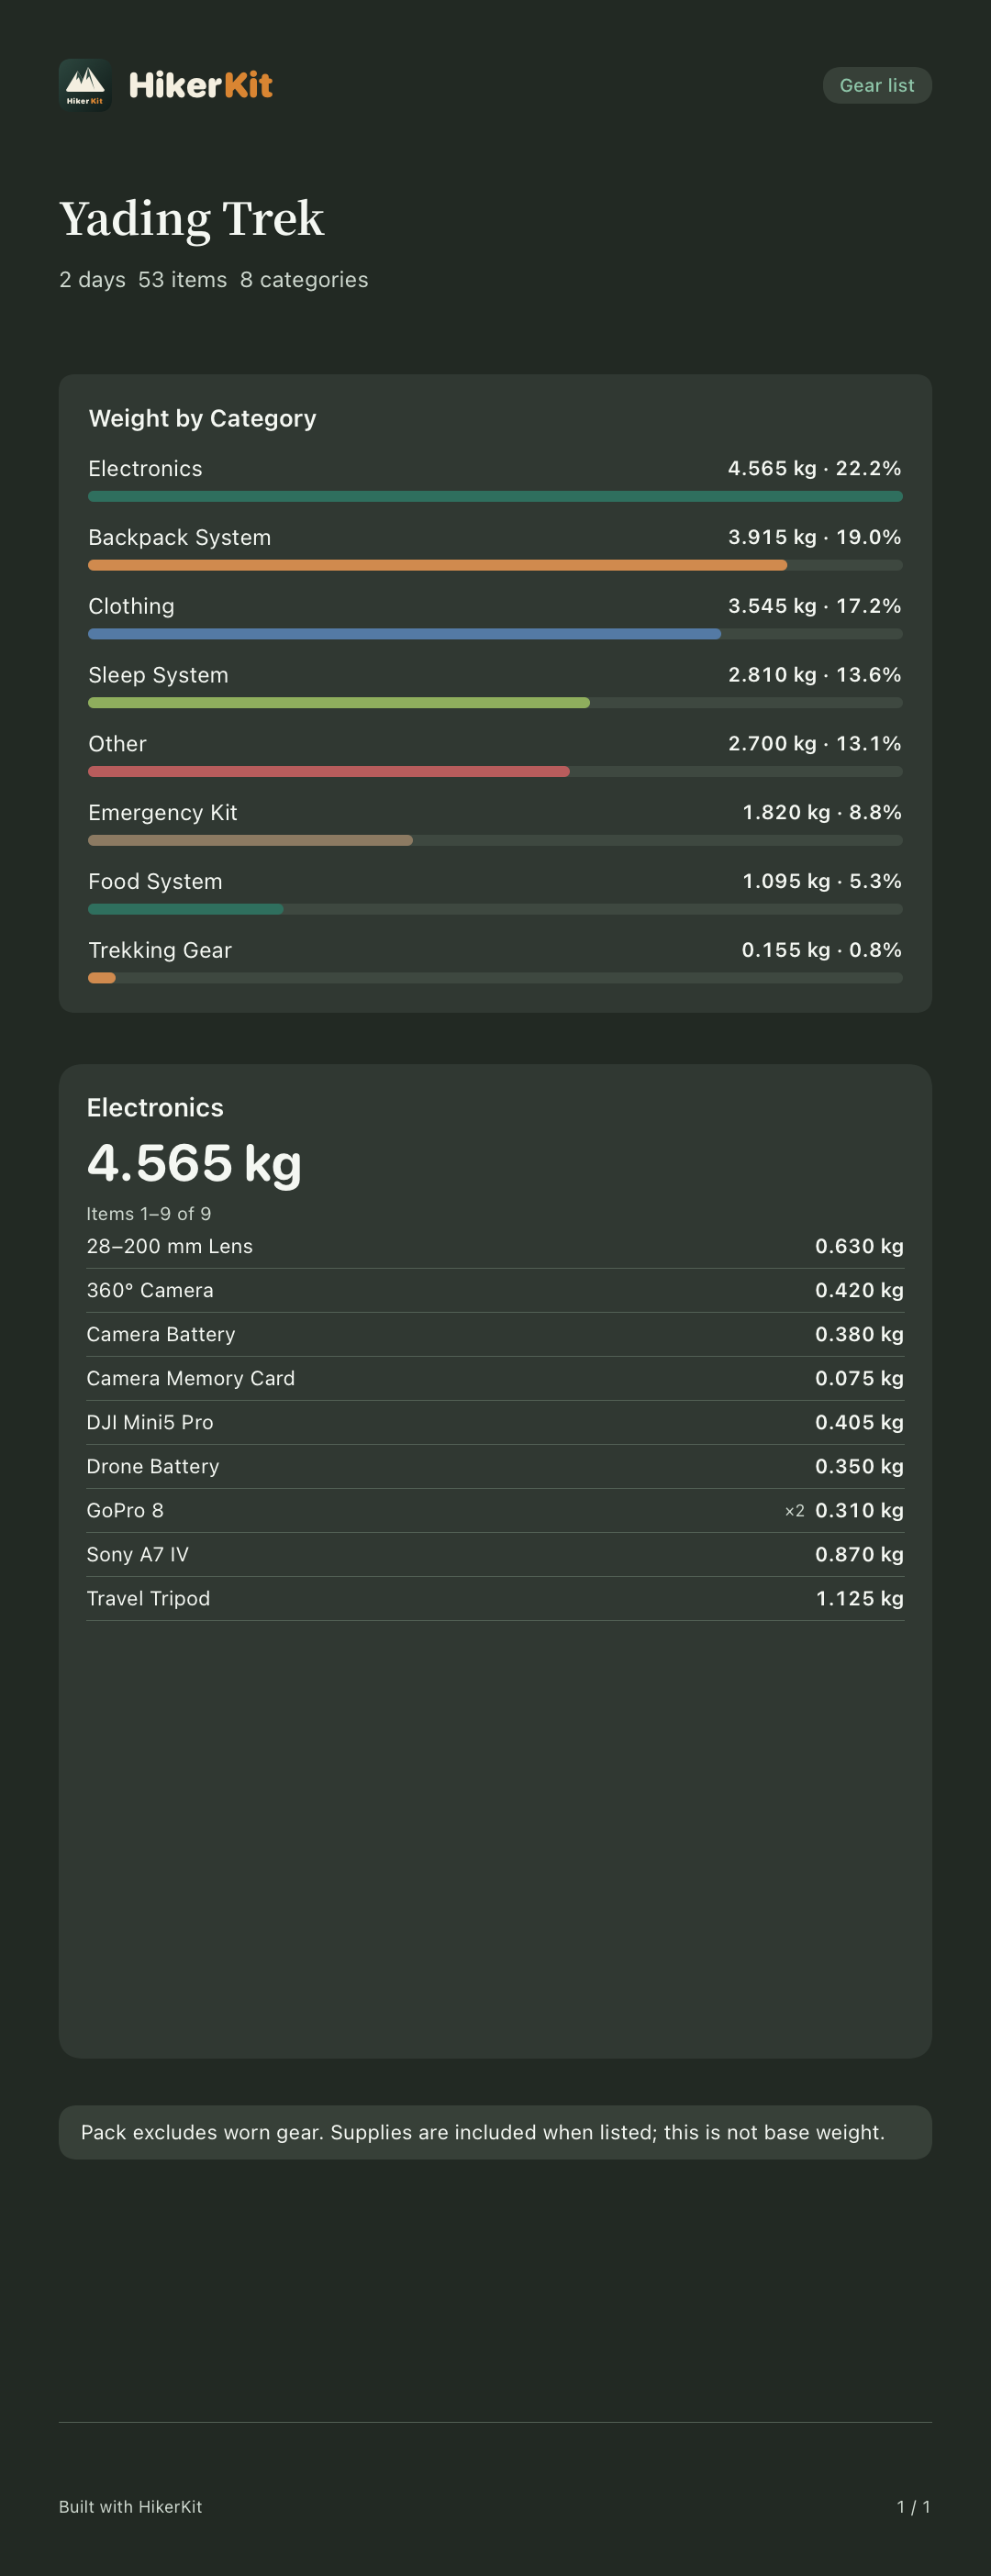
This trip has 53 gear entries and a pack weight of 20.605 kg. The profile describes the whole configuration. The list demonstration selects the electronics category: 9 entries totaling 4.565 kg. That category list must not be presented as a complete list of all 53 entries.
Pack weight excludes worn gear but includes listed supplies, so it should not be described as base weight. The example load describes that checklist, not a recommendation for everyone. Names, notes, photos, and routes can contain personal information; review them together before publishing.
Step 1 Open sharing configuration from Trip memory
Open the completed outing in Trip memory. In the top-right three-dot menu, choose “Share configuration” to enter Share preview. Check that its name and 53-entry configuration still match the trip.
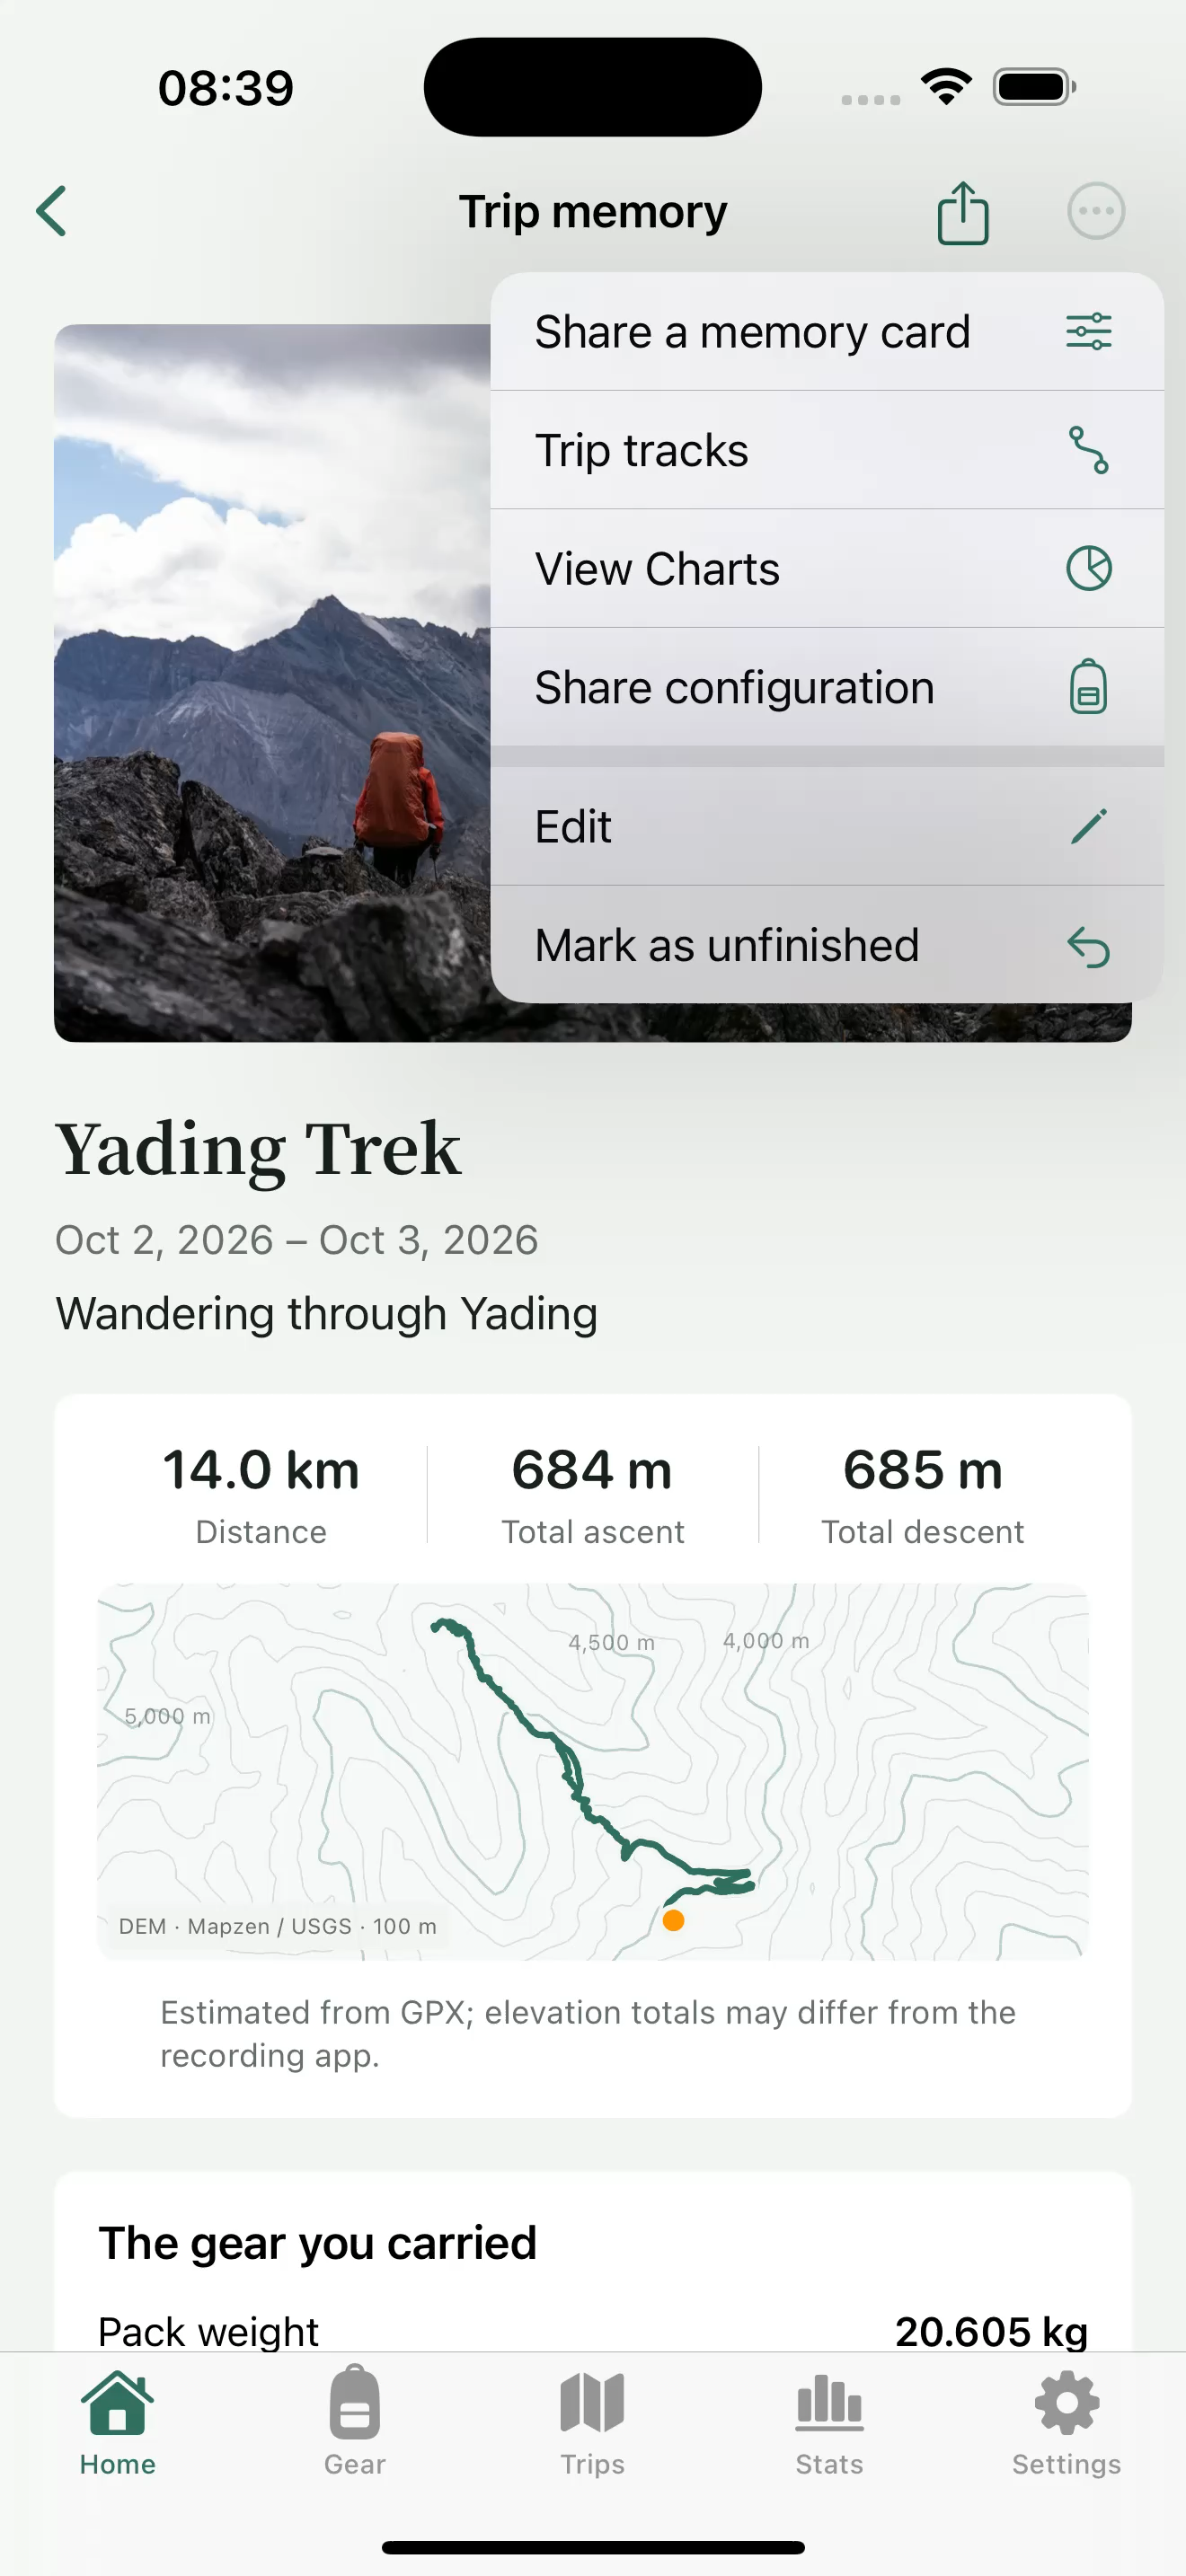
An alternative entry is “Create share card” in the main chart’s sharing menu. This tutorial follows the recorded Trip memory entry. If you need weight analysis first, review the charts before returning to sharing settings. The main charts and sharing preview are separate screens; changing a preview style is not the same as analyzing the main chart.
Step 2 Choose a pack profile or gear list
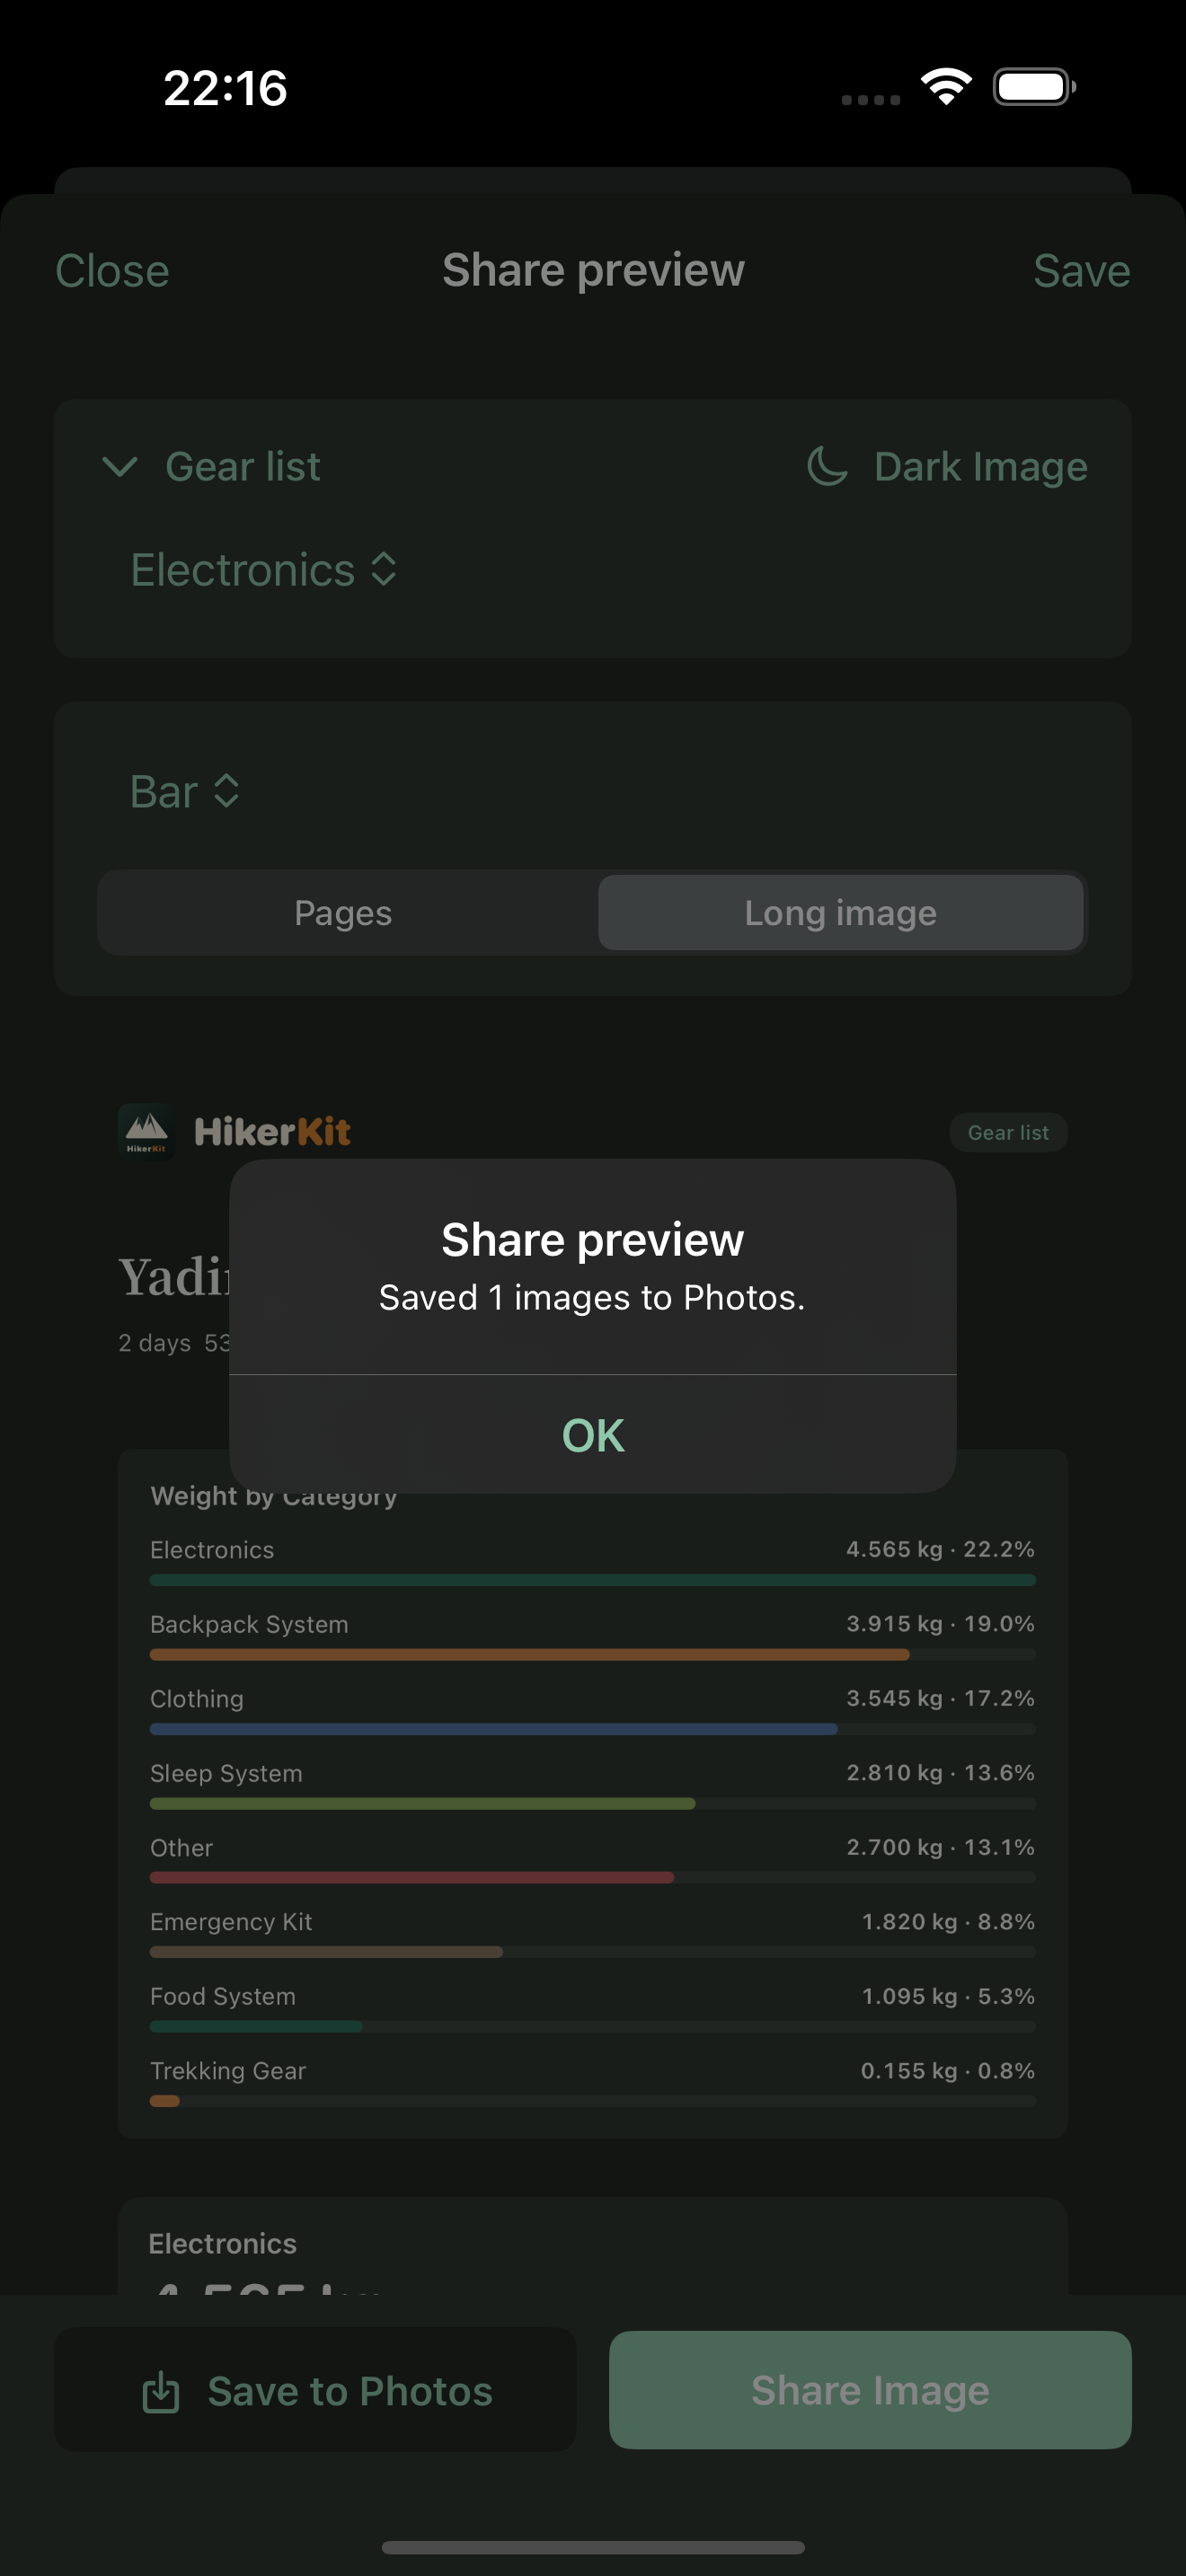
Open the content selector at the top of the preview. Choose Pack profile to explain the weight composition. Choose Gear list when the reader needs individual equipment details, then check which categories will be shown. The screenshots in this walkthrough demonstrate the Electronics list.
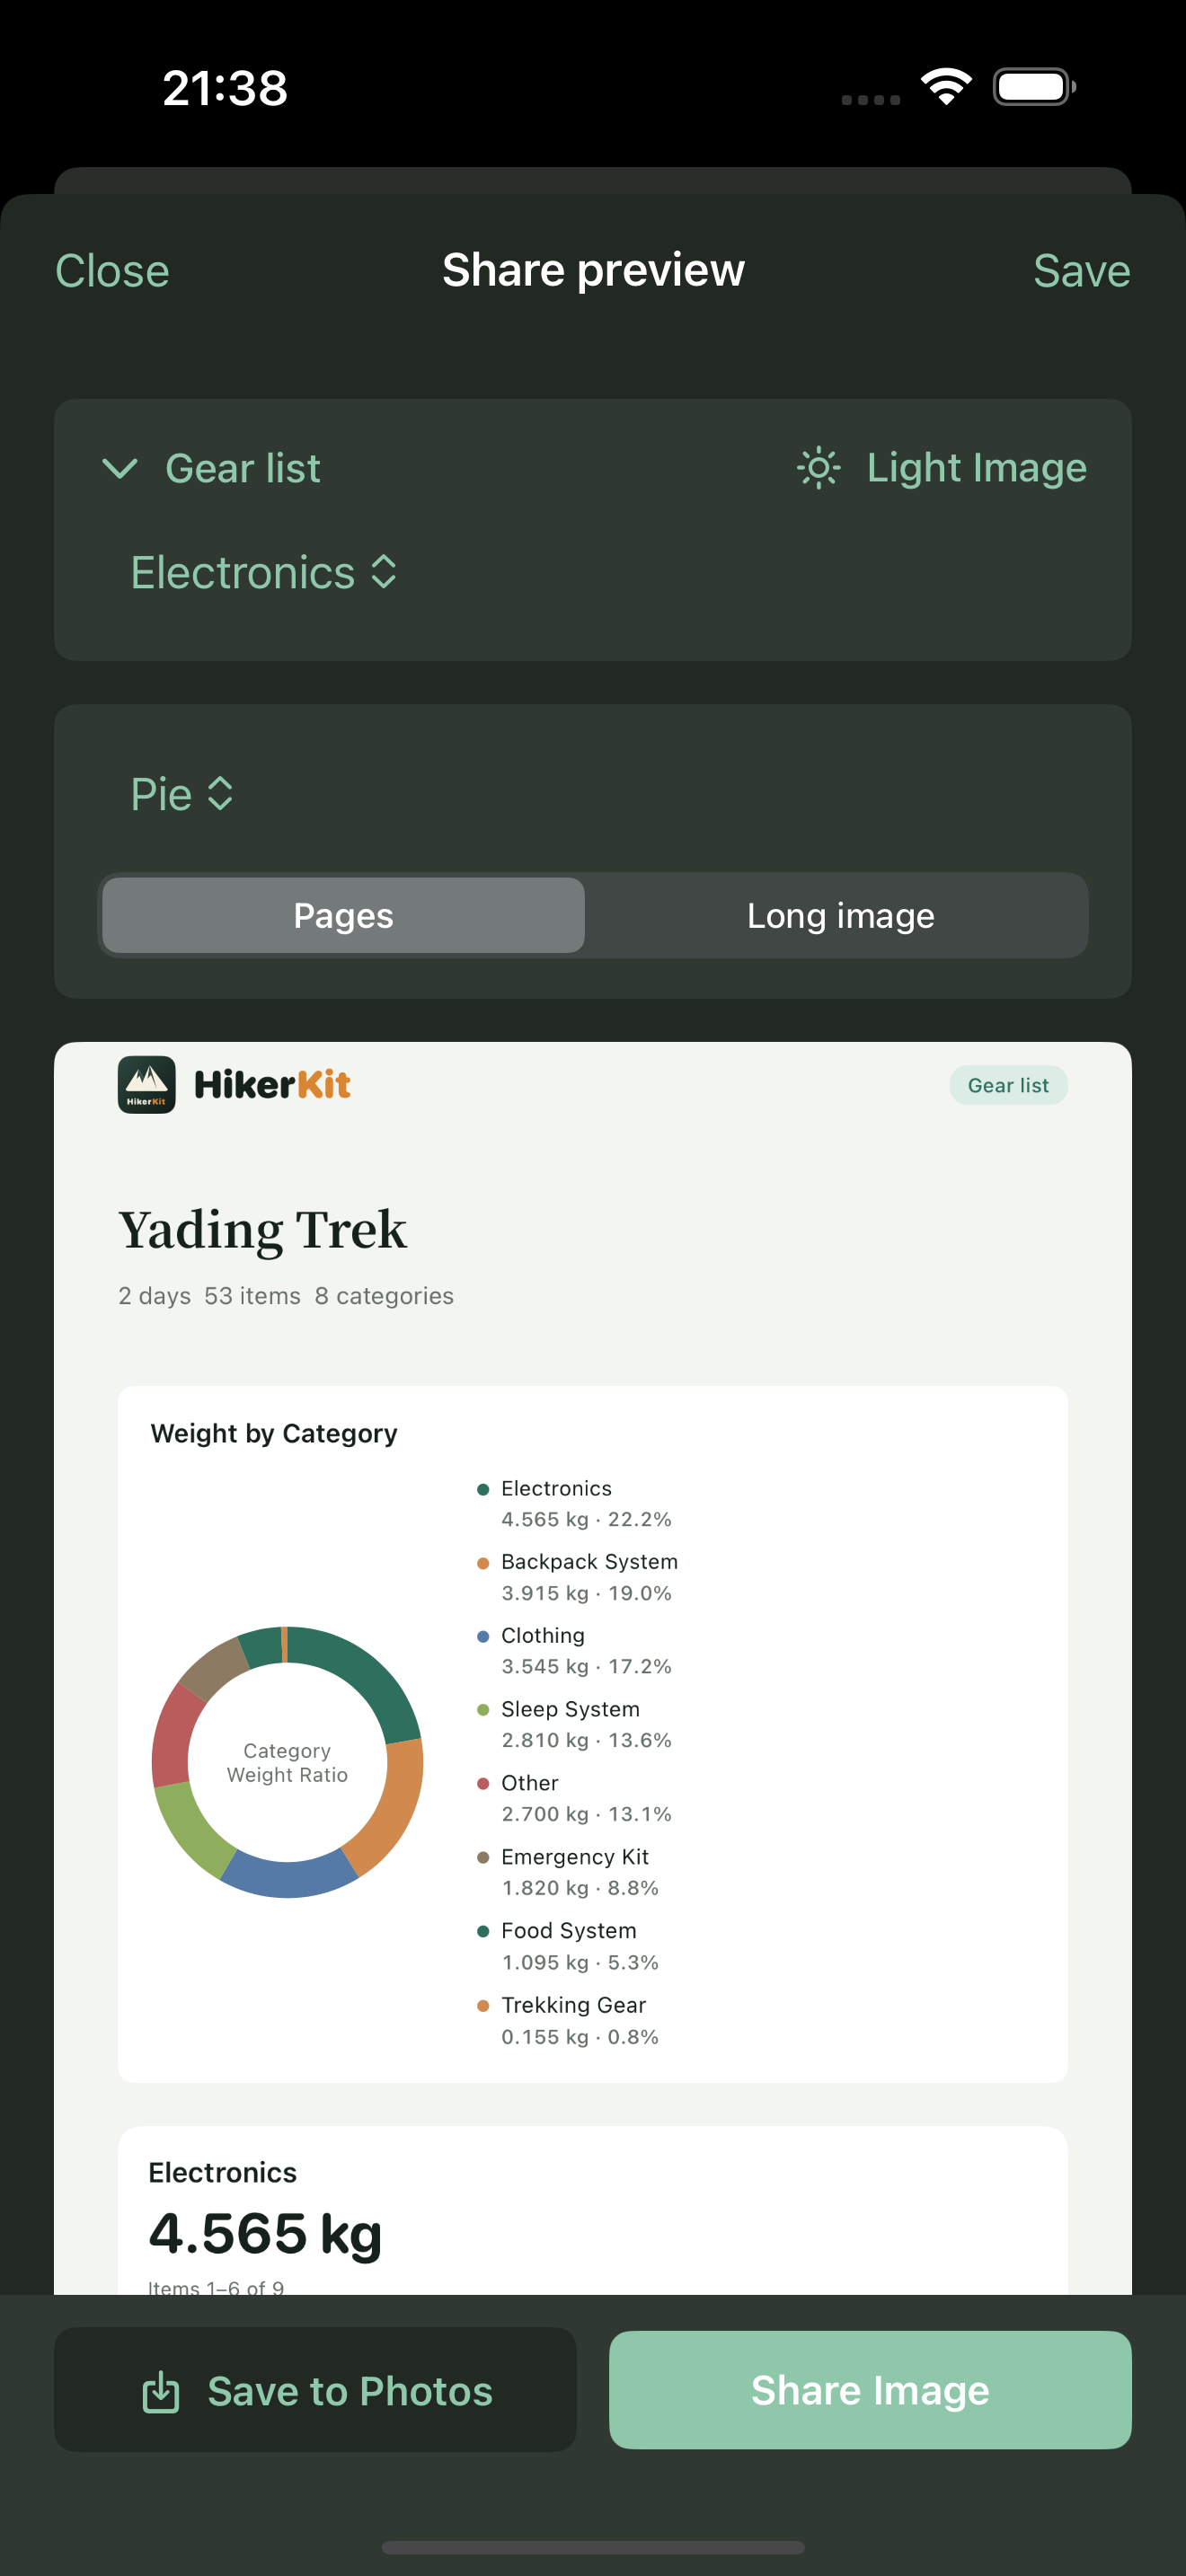
A pack profile brings pack weight, worn weight, all carried, and category weights into an overview. A gear list should make names, quantities, and weights readable. For a discussion about electronics alone, choose the relevant category. For a complete packing review, make sure every required category is included.
The displayed item count refers to selected gear entries in the trip. It is not the library’s total, and it does not necessarily equal the number of physical pieces. The carried quantity on each entry determines that additional detail. Keeping entries and physical quantities distinct helps readers interpret the image.
Step 3 Choose a pie, bar, or stacked chart
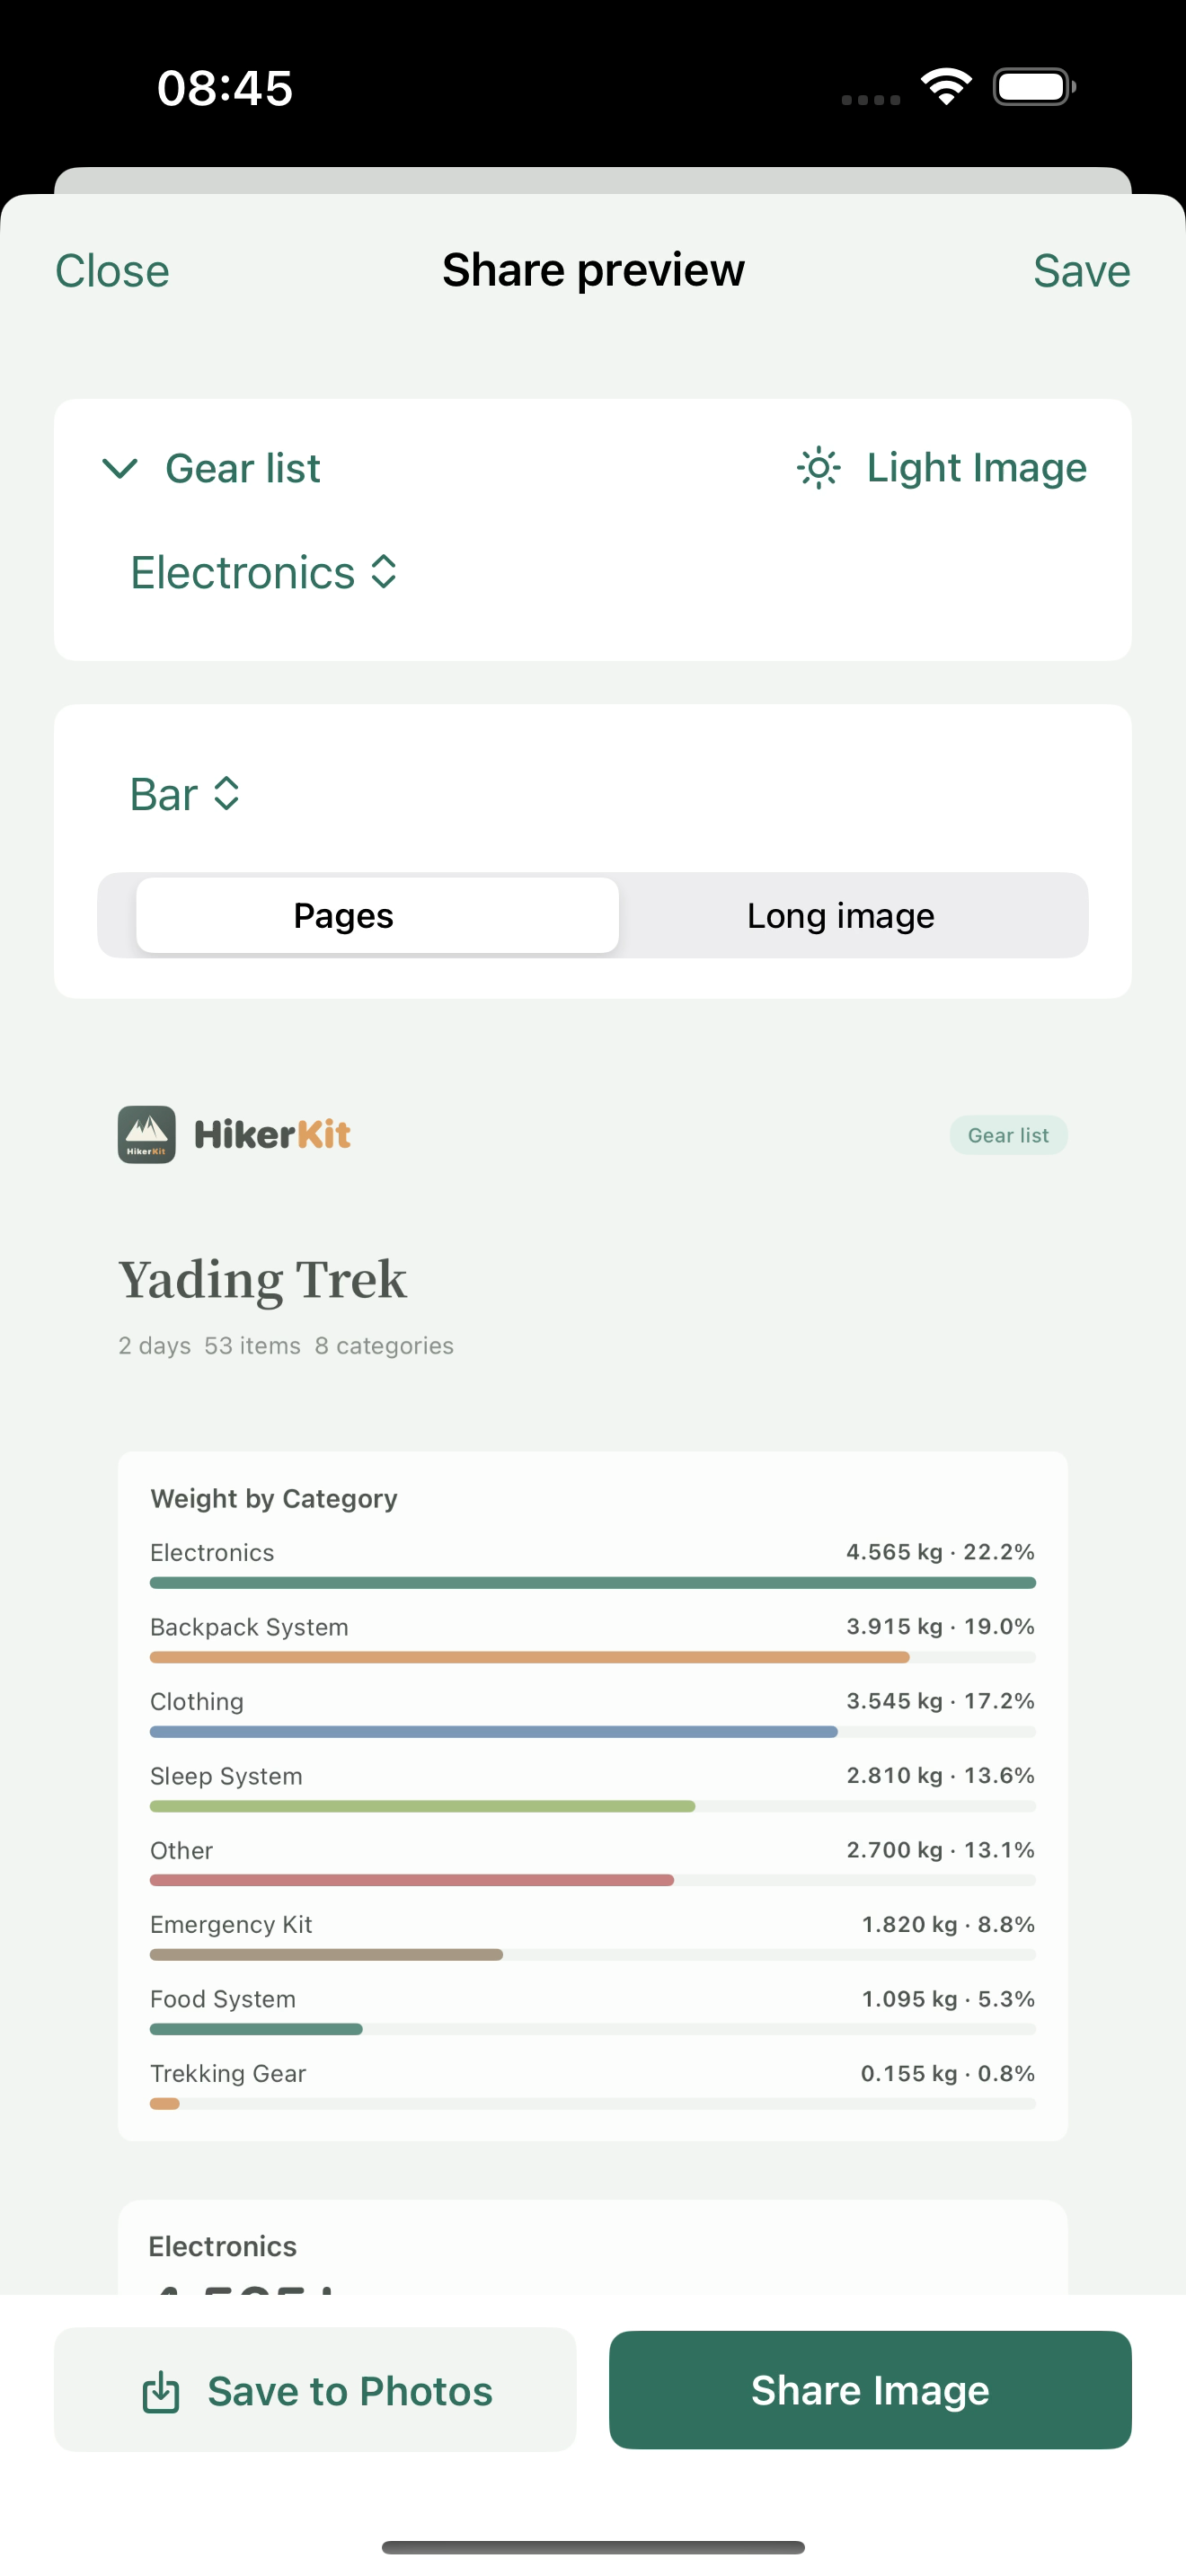
Open the chart selector and choose Pie, Bar, or Stacked. Check the category names, weights, and percentages in the updated preview.
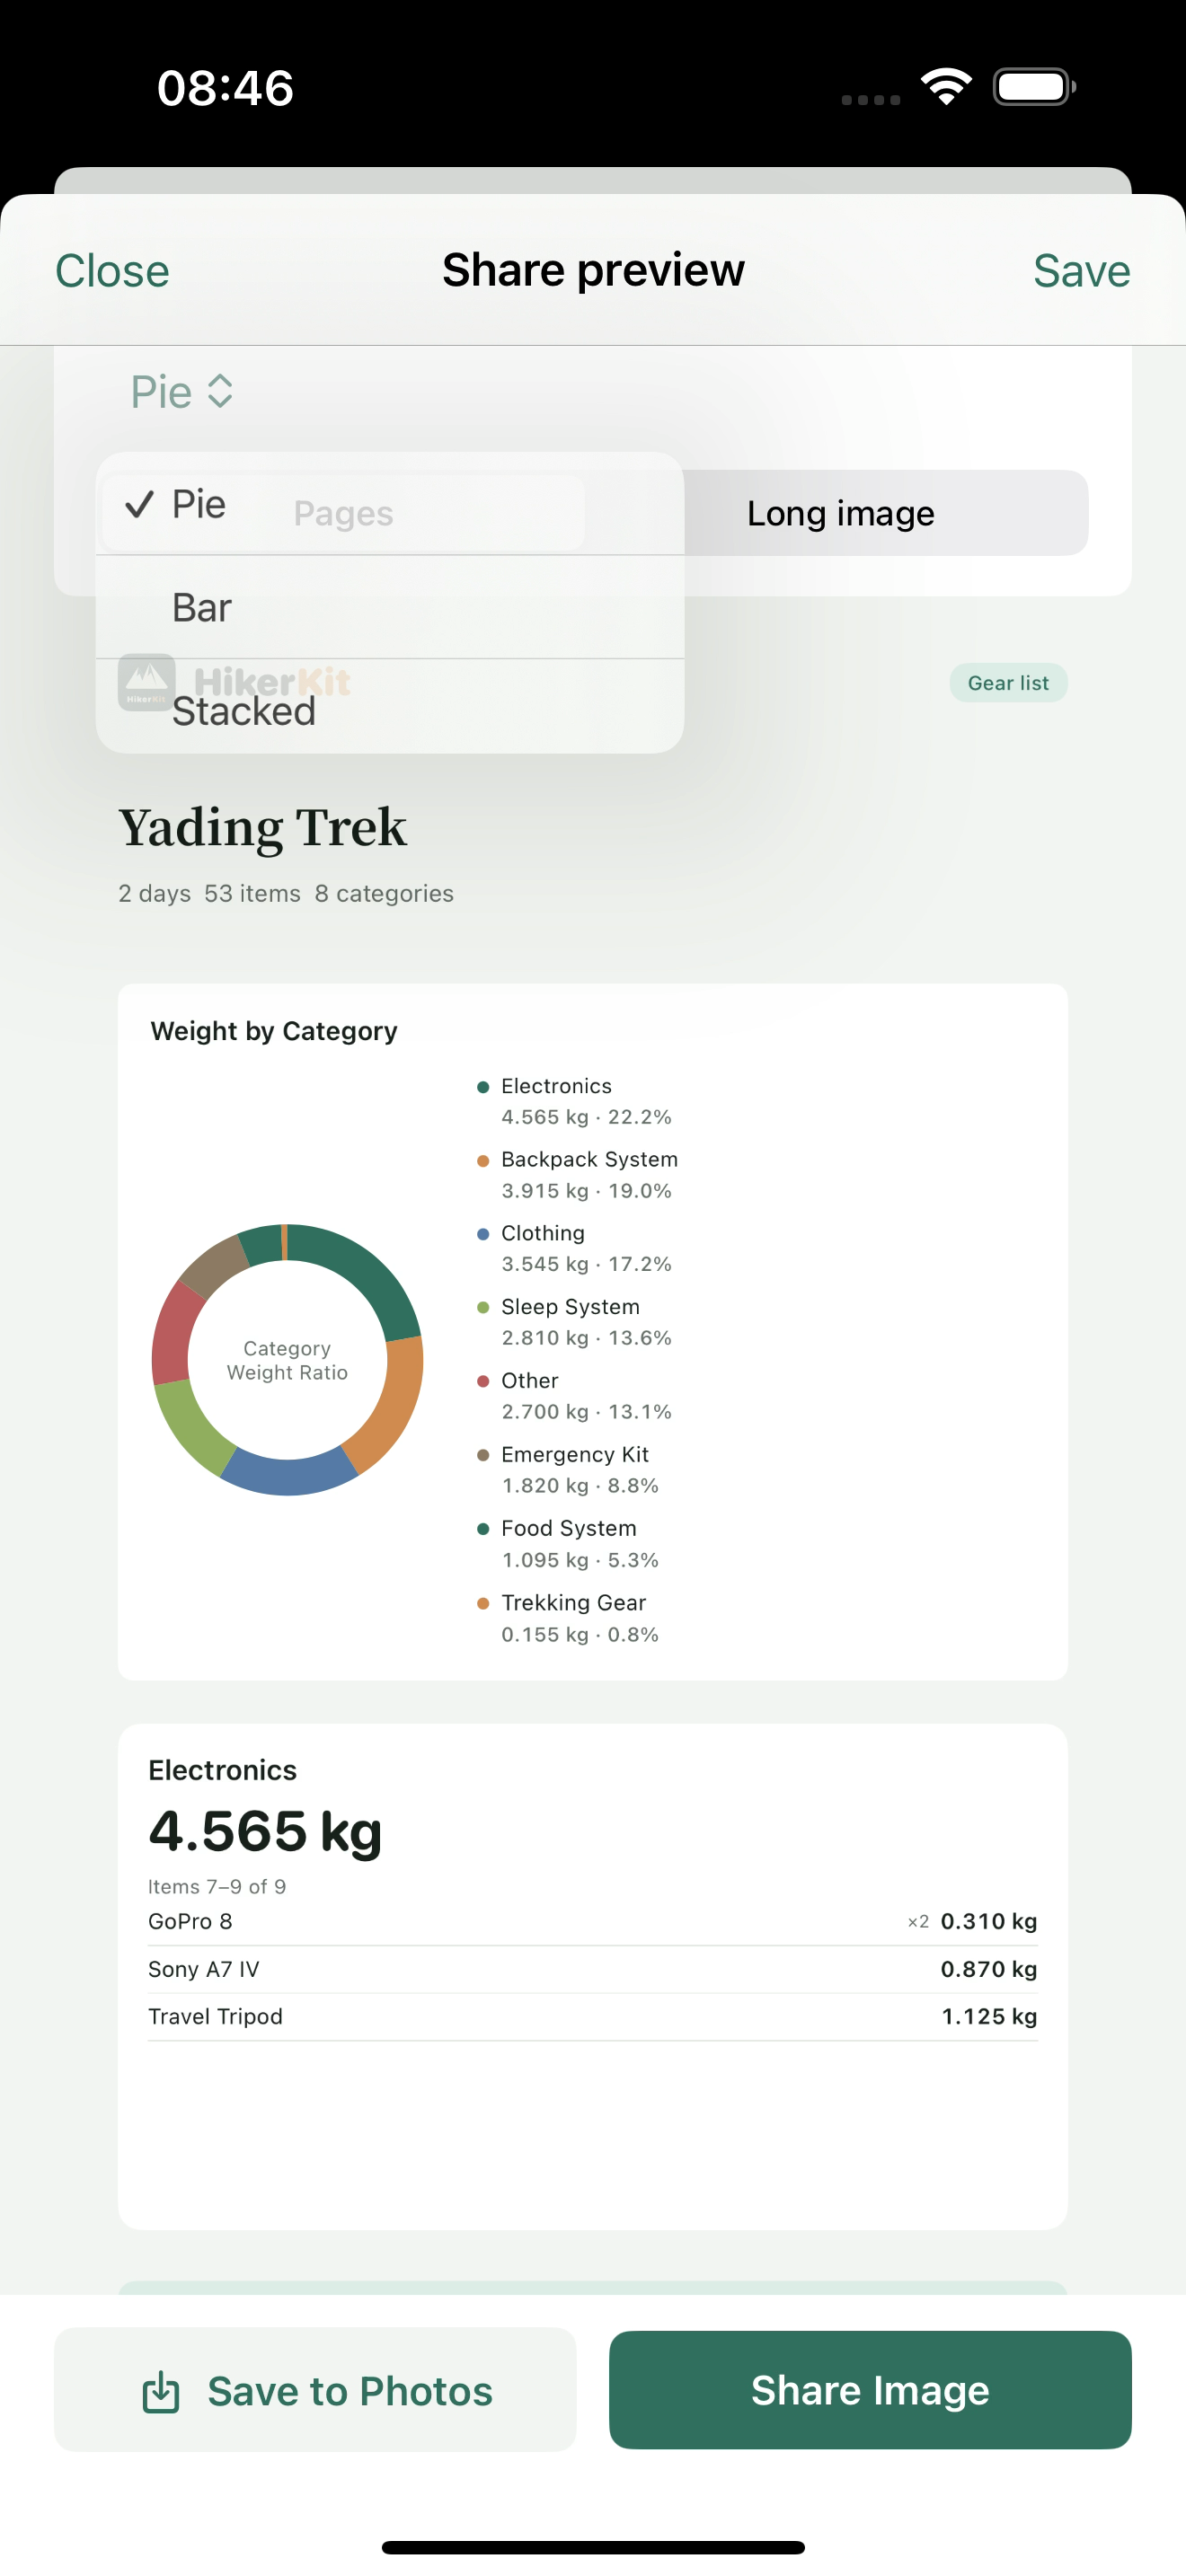
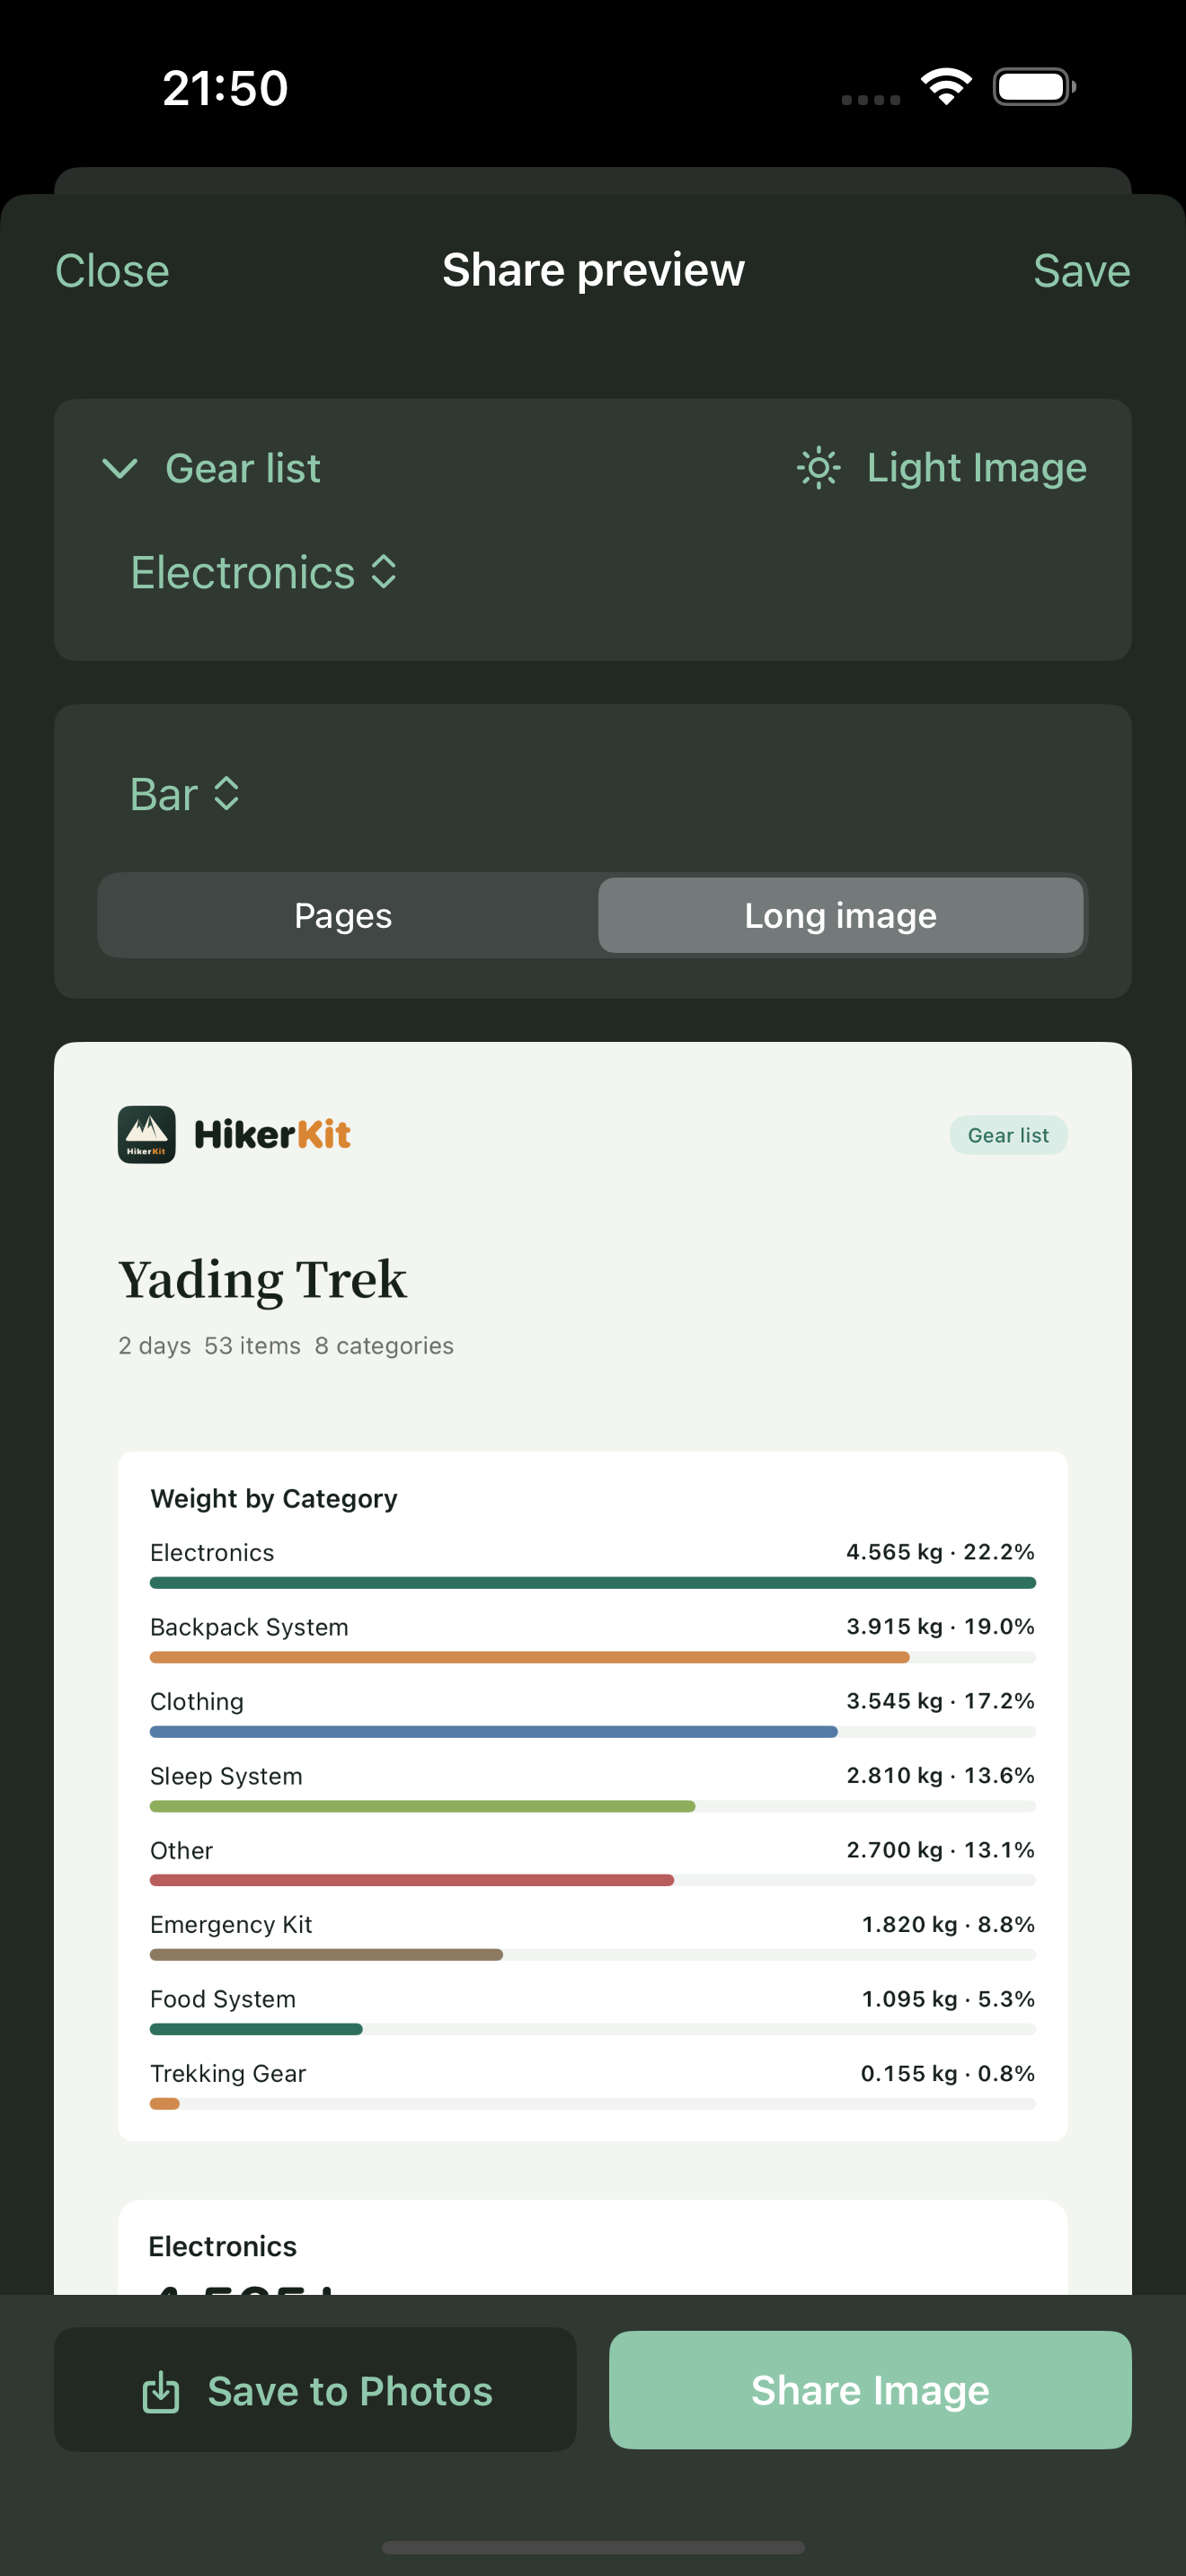
A pie chart emphasizes proportions, a bar chart supports comparing category weights, and a stacked chart offers an overall composition view. Each describes the same configuration. Changing styles should not change the gear selection or weight basis. For a complete list, prioritize readable item details rather than compressing text to preserve a chart.
Step 4 Choose Pages or Long image
Select Pages or Long image in the preview. Pages support reading and publishing one page at a time; a long image keeps the content continuous. Scroll through the result after switching instead of judging completeness from the first screen.
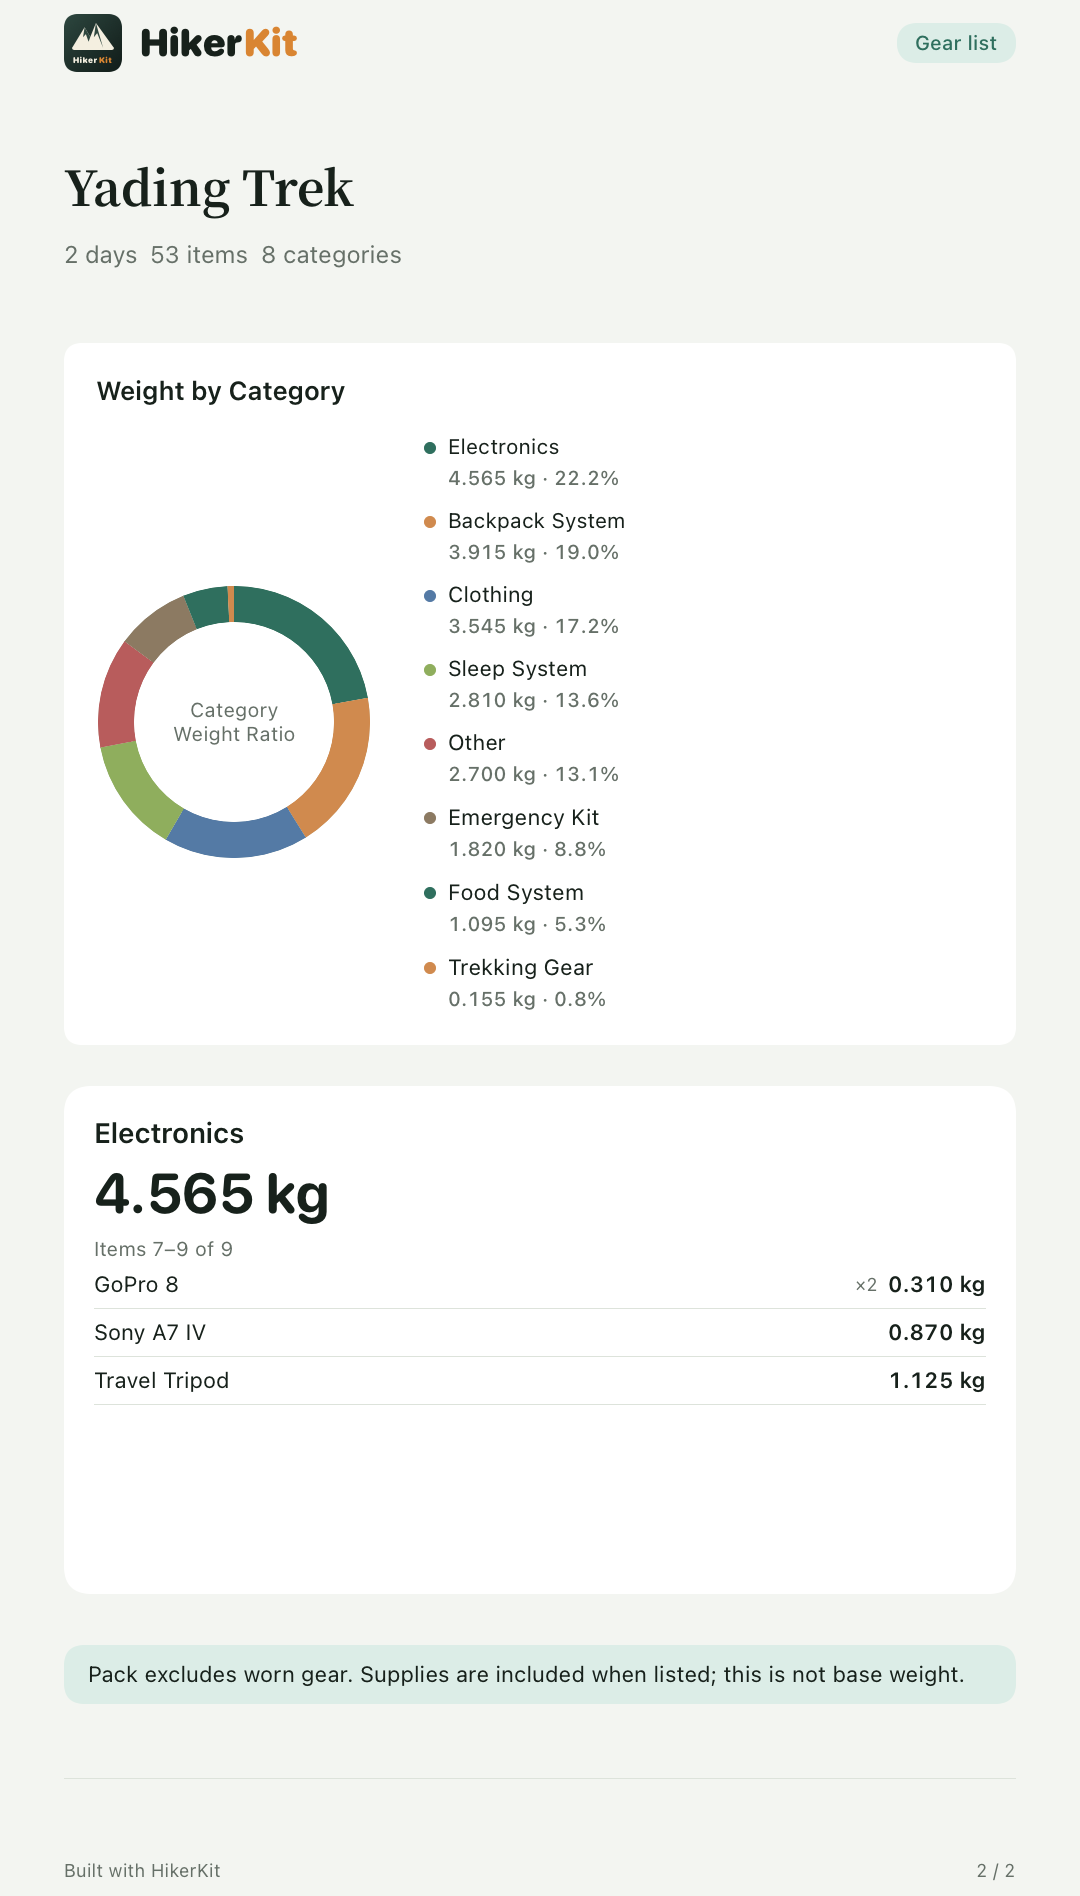
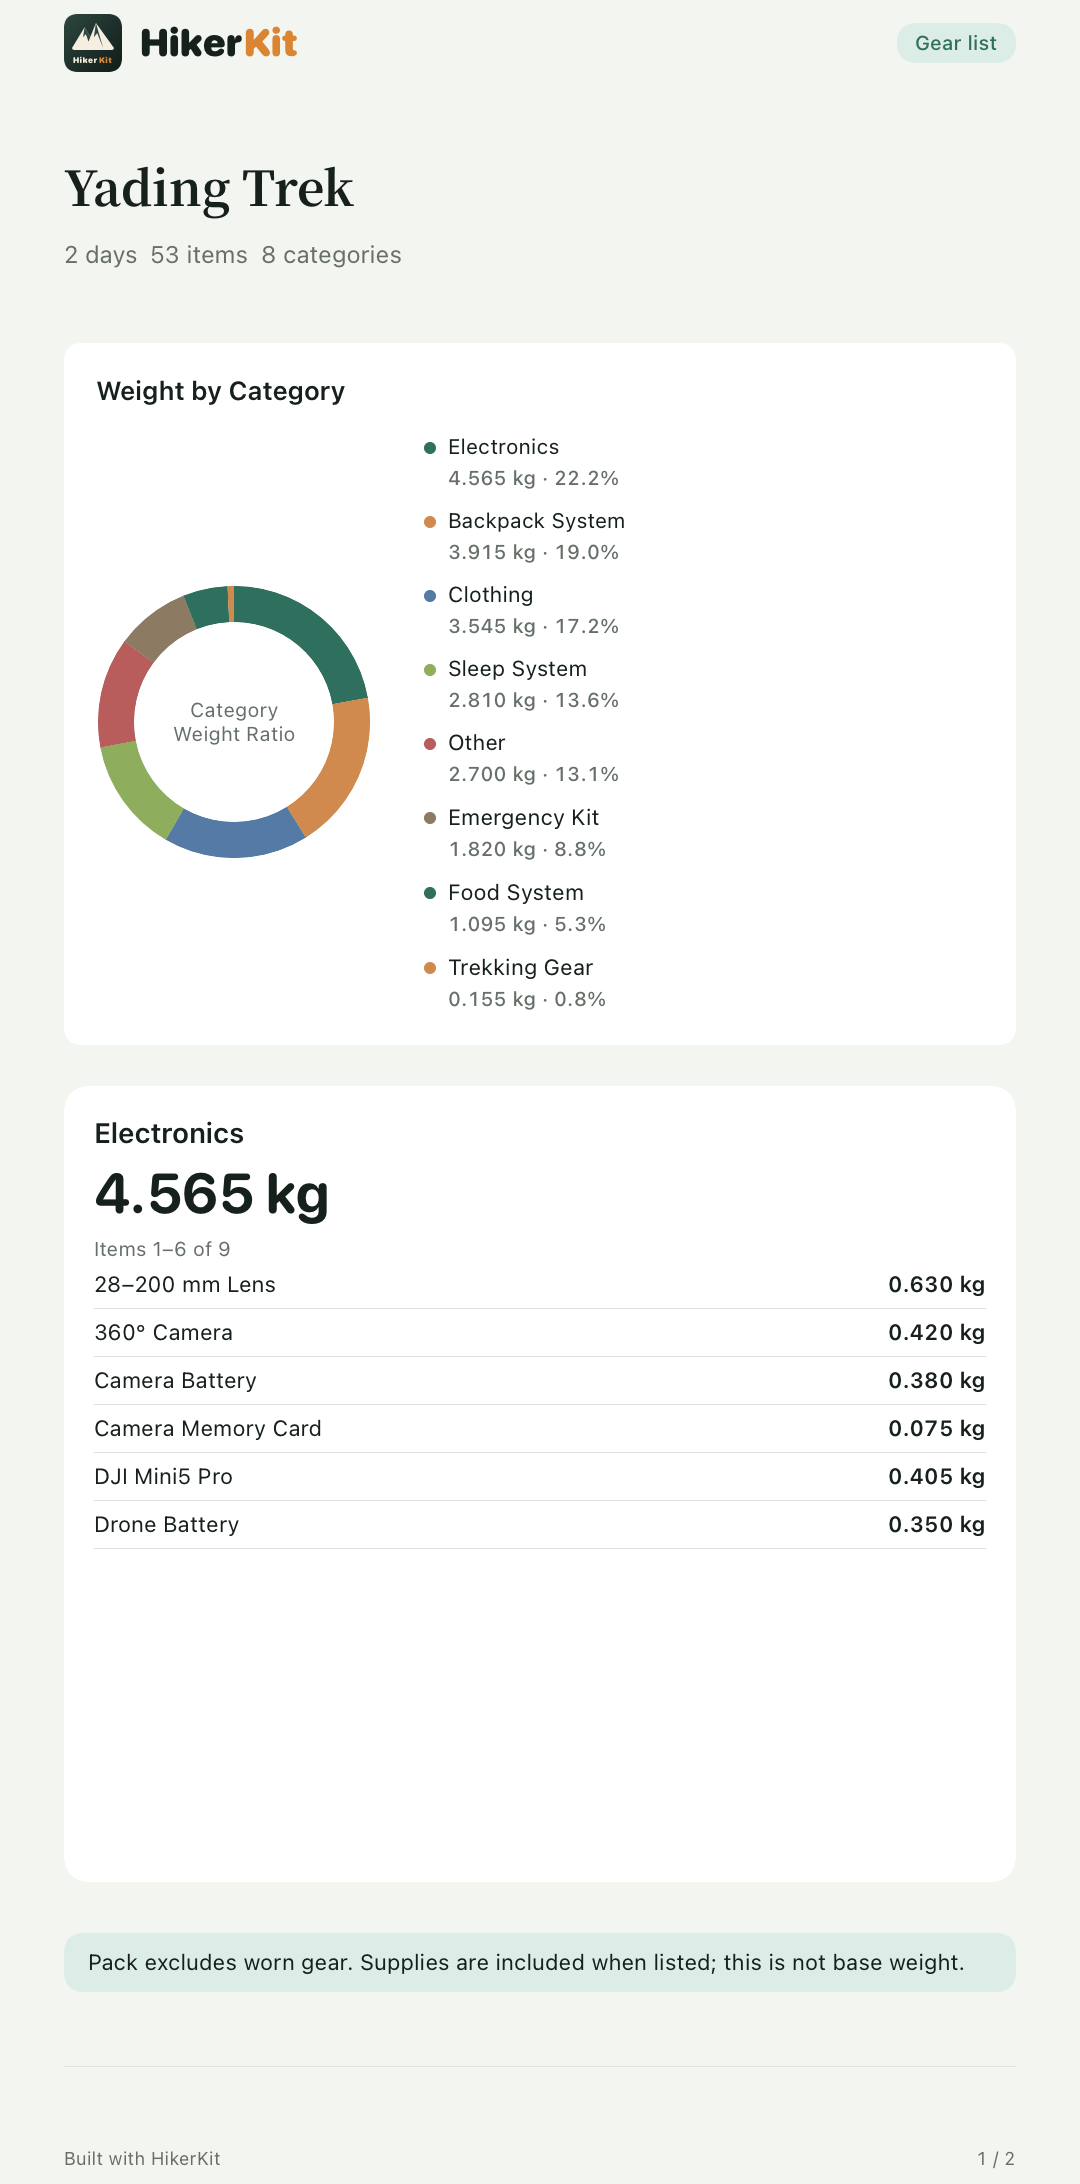 Actual Electronics PNG: page 1 of 2
 Actual Electronics PNG: page 2 of 2
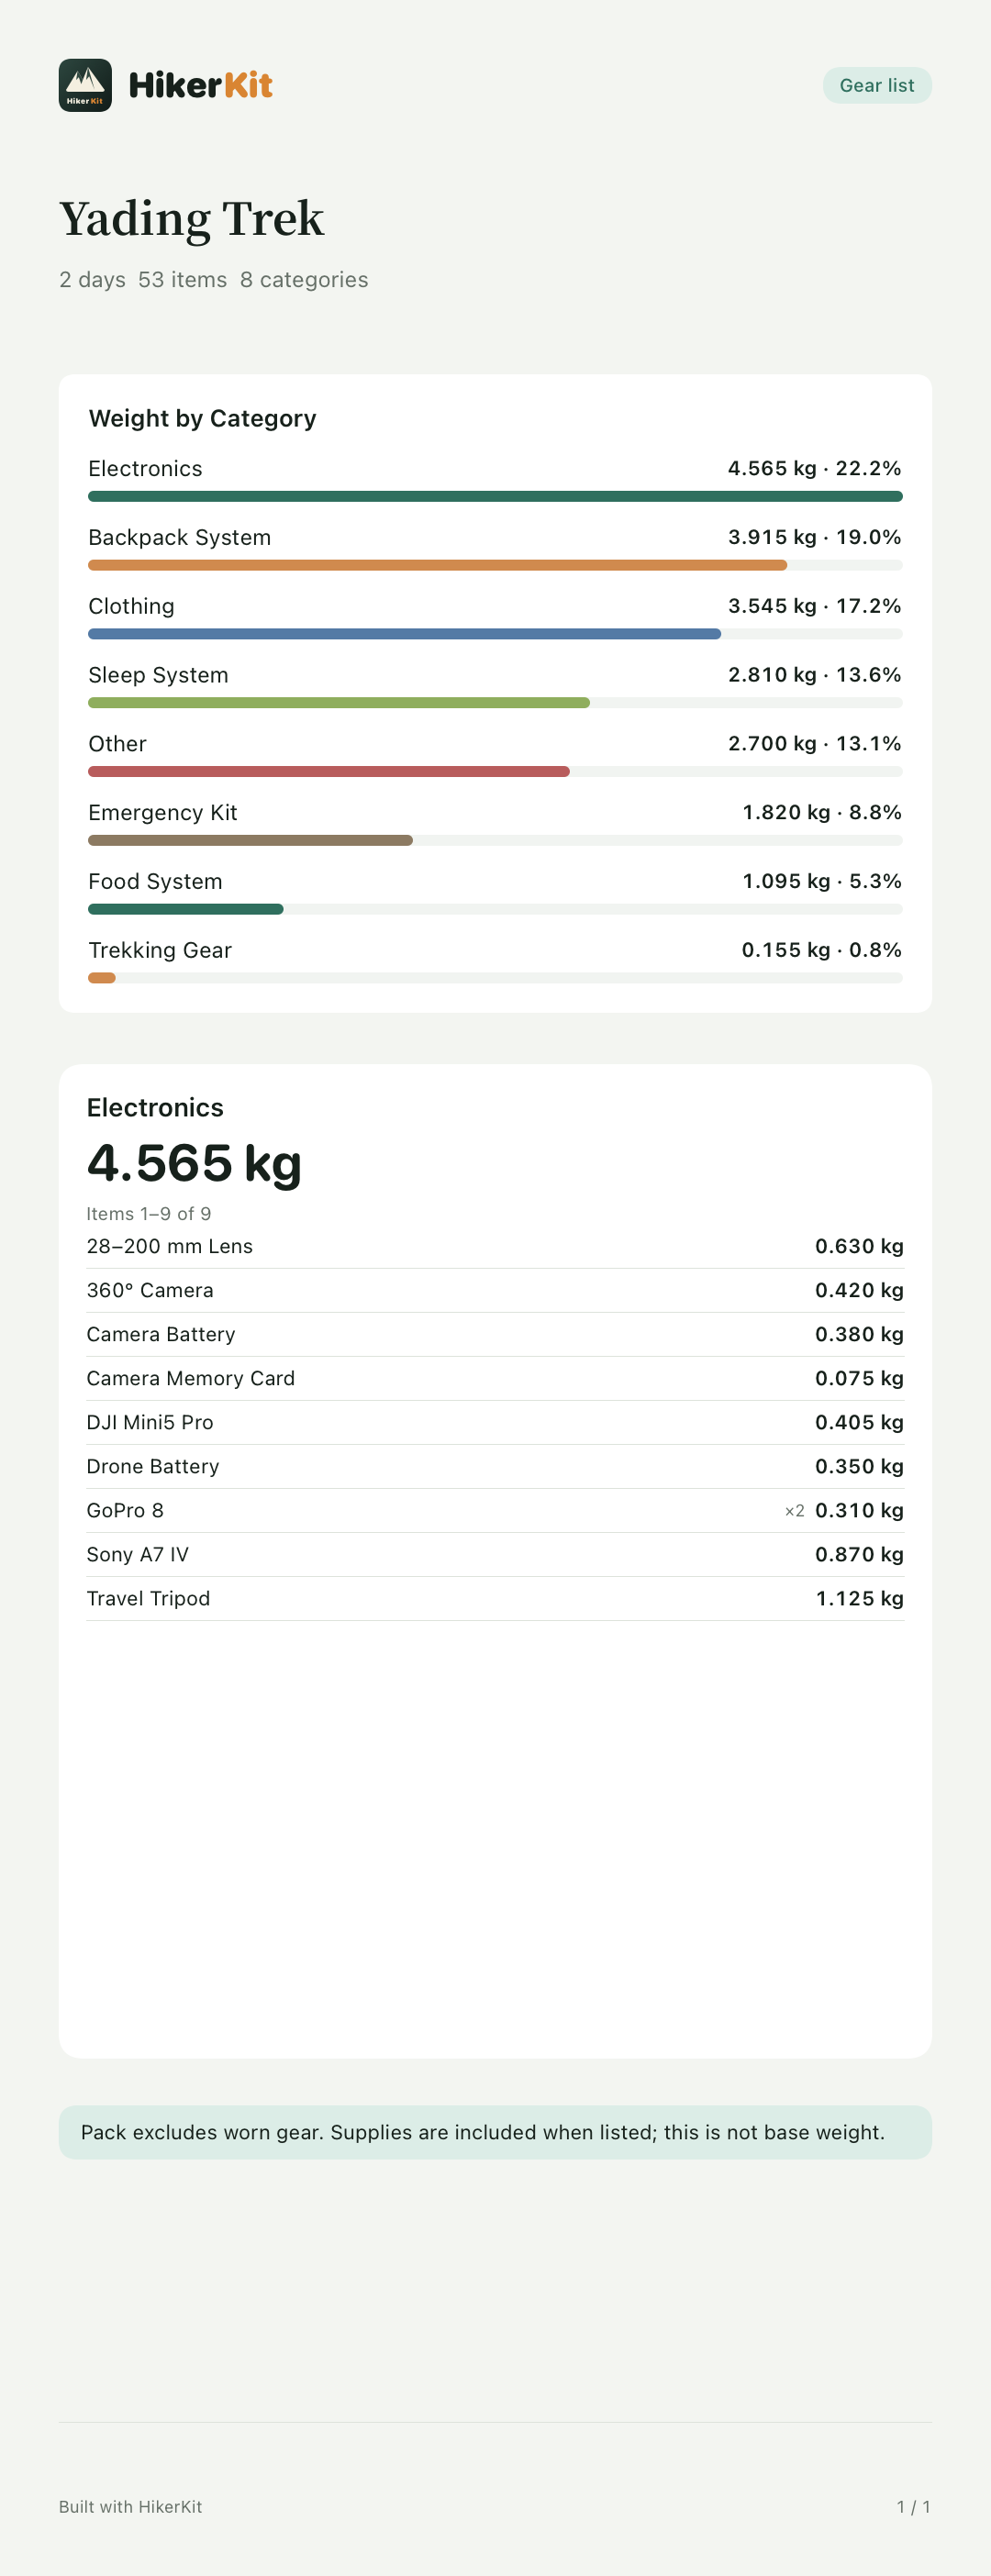 Actual light Electronics long-image PNG
The Electronics list exports as two pages: page 1 contains items 1–6, and page 2 contains items 7–9. The English capture confirms “Saved 2 images to Photos.” Long image combines items 1–9 without changing the selected scope; the actual long-image PNG is shown alongside both page files.
For pages, inspect every page, the category continuation headings, and the final category and item. For a long image, check that the bottom is complete and the text remains readable. Very long content may require pagination, and the publishing platform may compress the image. Review the exported file as the reader will see it, rather than relying on a small preview.
Selecting Pages does not guarantee multiple output files. Content that fits on one page can still produce a single image. Check the actual output to establish the number of pages.
Step 5 Set image colors independently
Use the Light Image / Dark Image selector according to the publishing background and reading needs. The screenshots show both image-color choices within the dark app. Actual light and dark Electronics list exports appear below.
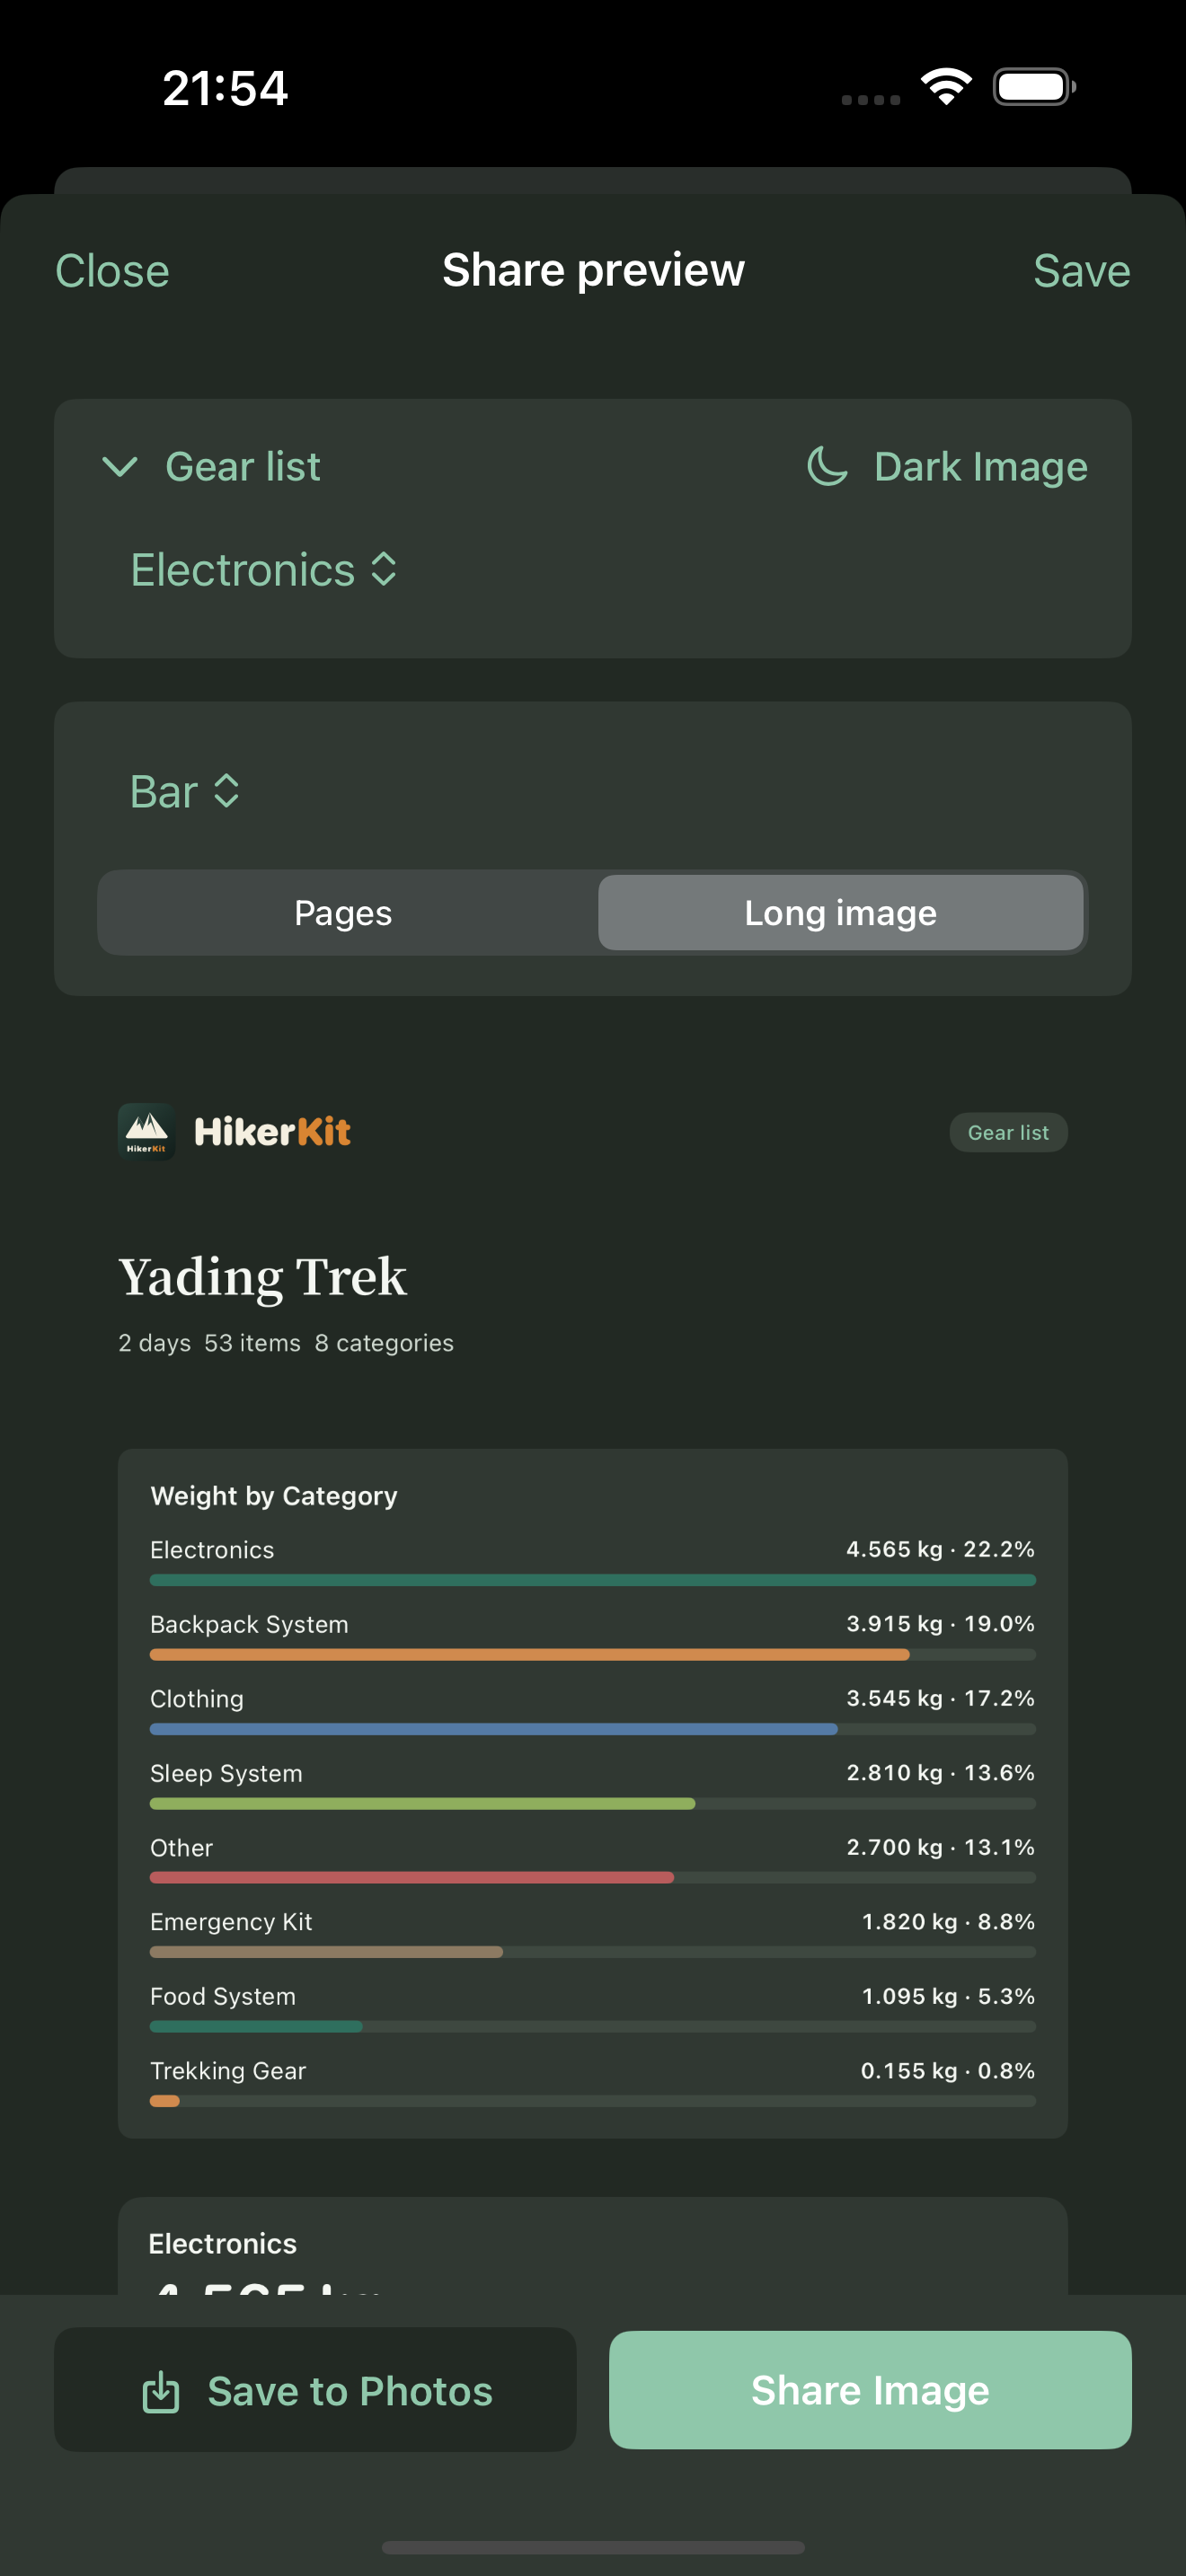
Color choices do not change the configuration data. When comparing light and dark output, check that trip name, weights, categories, and quantities match. Screen brightness affects appearance, so also check that the text has enough contrast against the background.
Step 6 Save settings, then save or share the image
Save at the top of the preview independently retains the sharing settings. You can choose content, chart, layout, and colors now and export later; keeping a configuration does not require sending an image.
When ready, use Save to Photos at the bottom. If the system requests photo access, choose the scope you want to allow and wait for the result. To send the image, use Share Image and choose the destination in the system sharing flow. Saving settings does not perform either action for you.
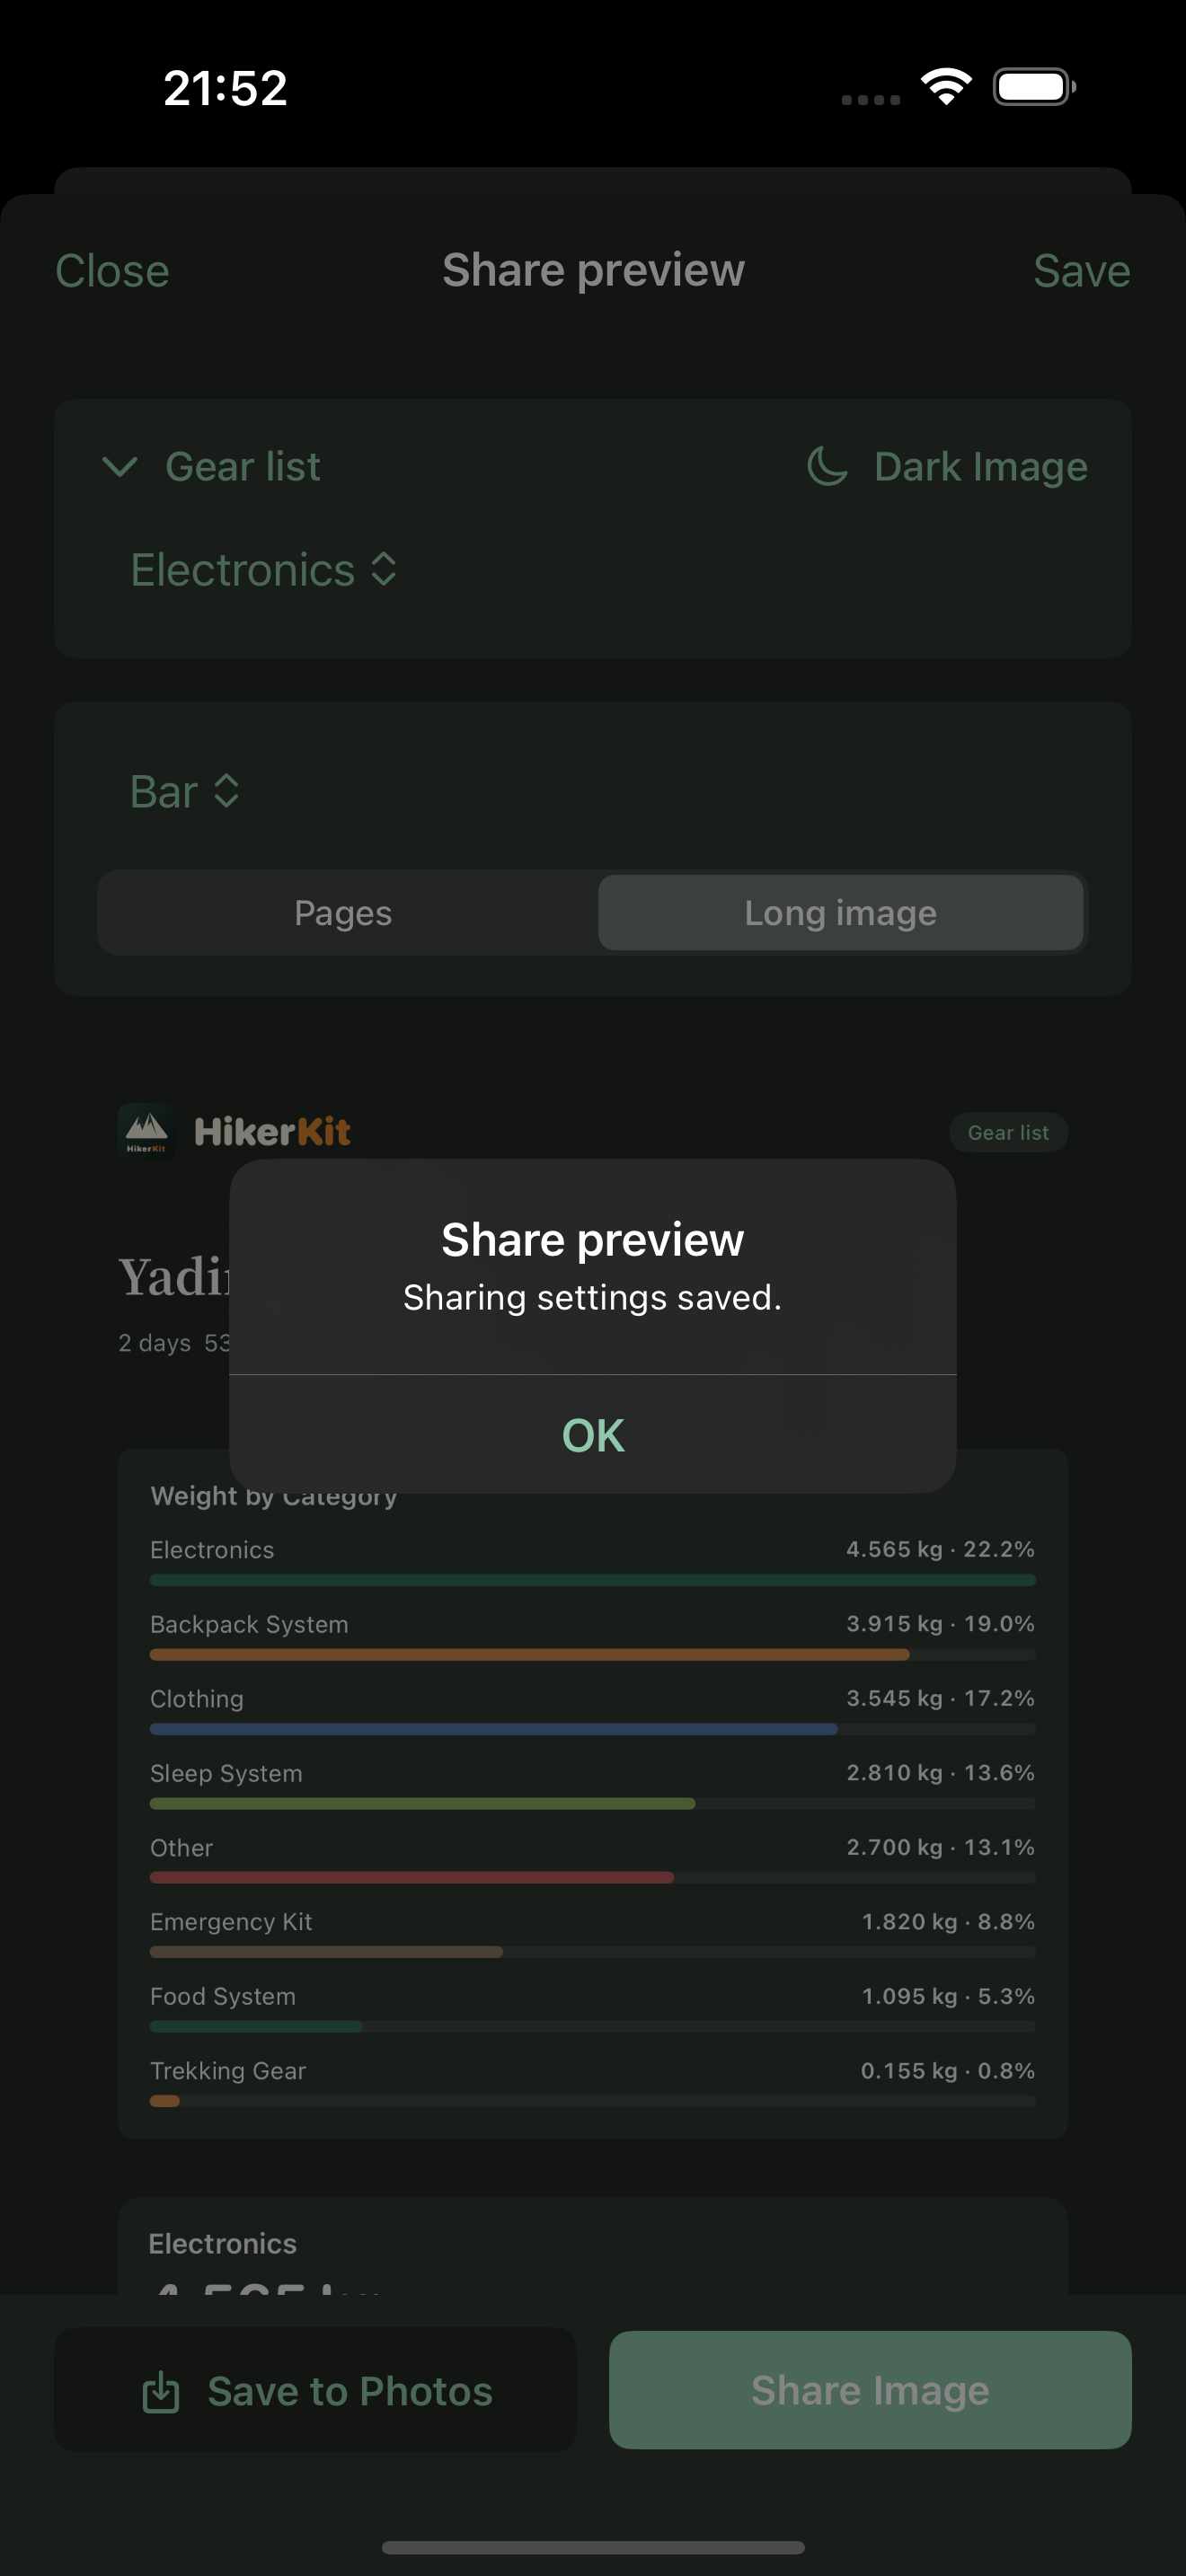
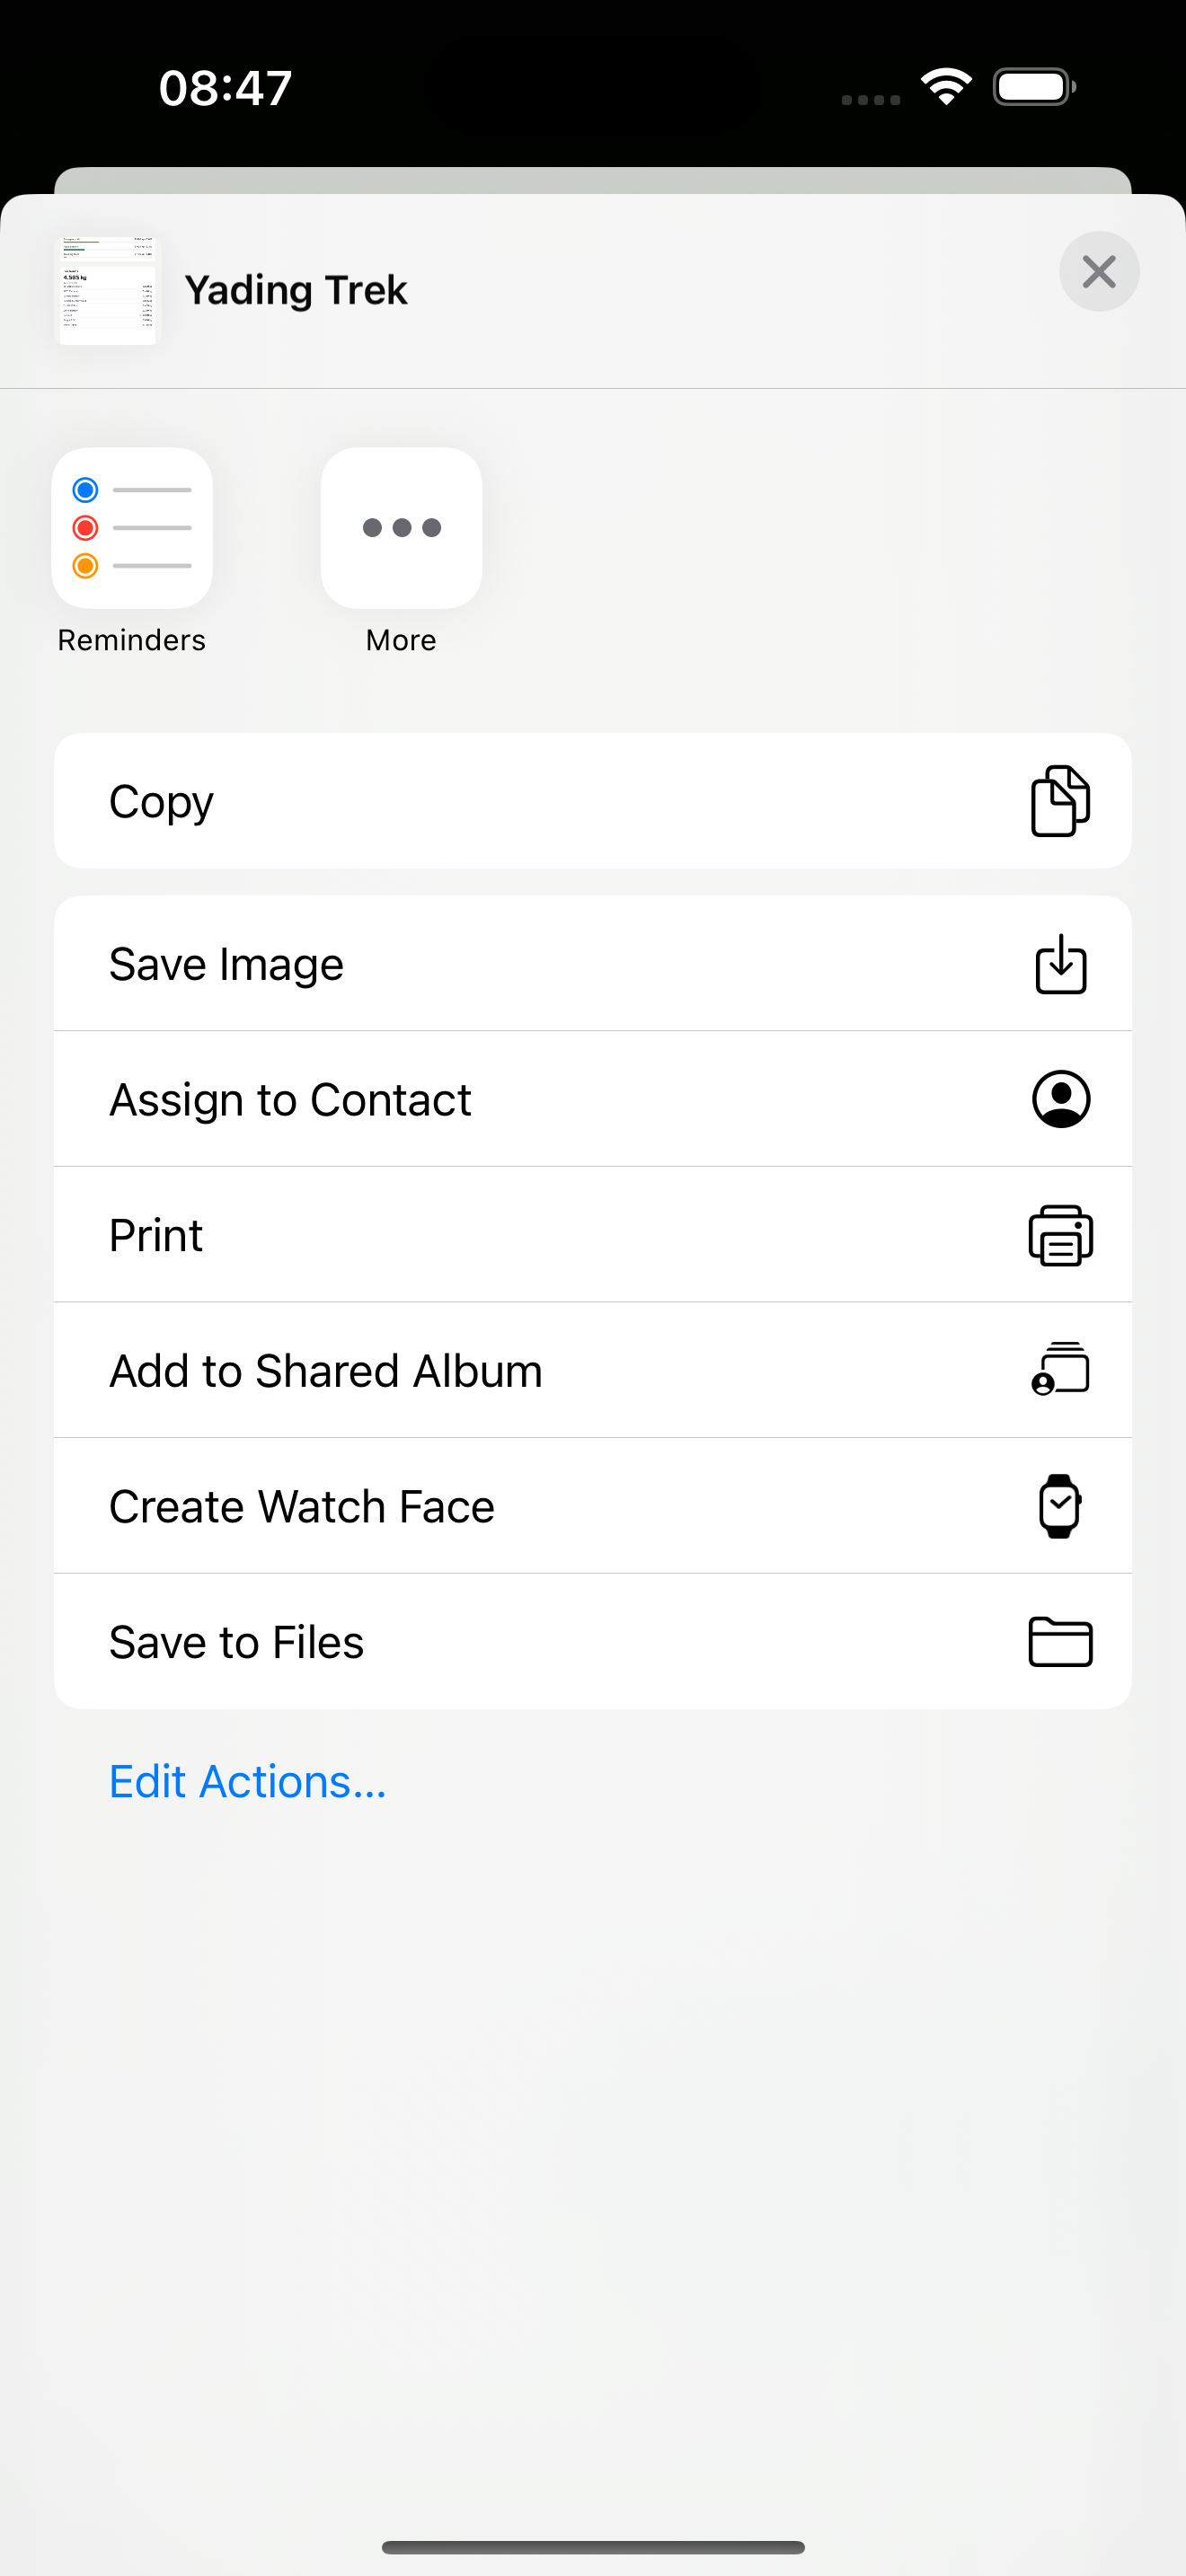
Open the exported result and check the trip, complete coverage of the selected category, readable quantities and weights, continuous pagination or the full long-image bottom, and whether names and notes are suitable for publication. The Electronics long images are 1080 × 2808. The two paged PNGs are 1080 × 2184 and 1080 × 1896. The list’s header refers to the 53-entry trip, while its itemized list contains only the selected 9 entries. The image is ready after that check.
Frequently asked questions
Why is there no image in Photos after I tapped Save
Save at the top keeps settings. Use Save to Photos at the bottom to generate and save the image, then check the result.
Can a dark app export a light image
Yes. Choose image colors in Share preview independently of the app’s display theme.
Why does Pages produce only one image
Pages is a layout mode. The number of output images depends on the content, which may fit on one page.
Which format suits a very long list
Prioritize readability. Pages are often easier to check; if you choose a long image, inspect its text and bottom after platform compression.
Do these sharing features require Pro
No. Charts and image sharing remain free. The free tier allows up to two trips; Pro unlocks unlimited trips only.